Second Home Office
Almost three years since COVID brought the world to a screeching halt in March 2020, Will and I are both still working from home. After I finished my home office, he asked if I would also be willing to update his space.
Going into the project, we knew we wanted two things:
new floors
useful storage space
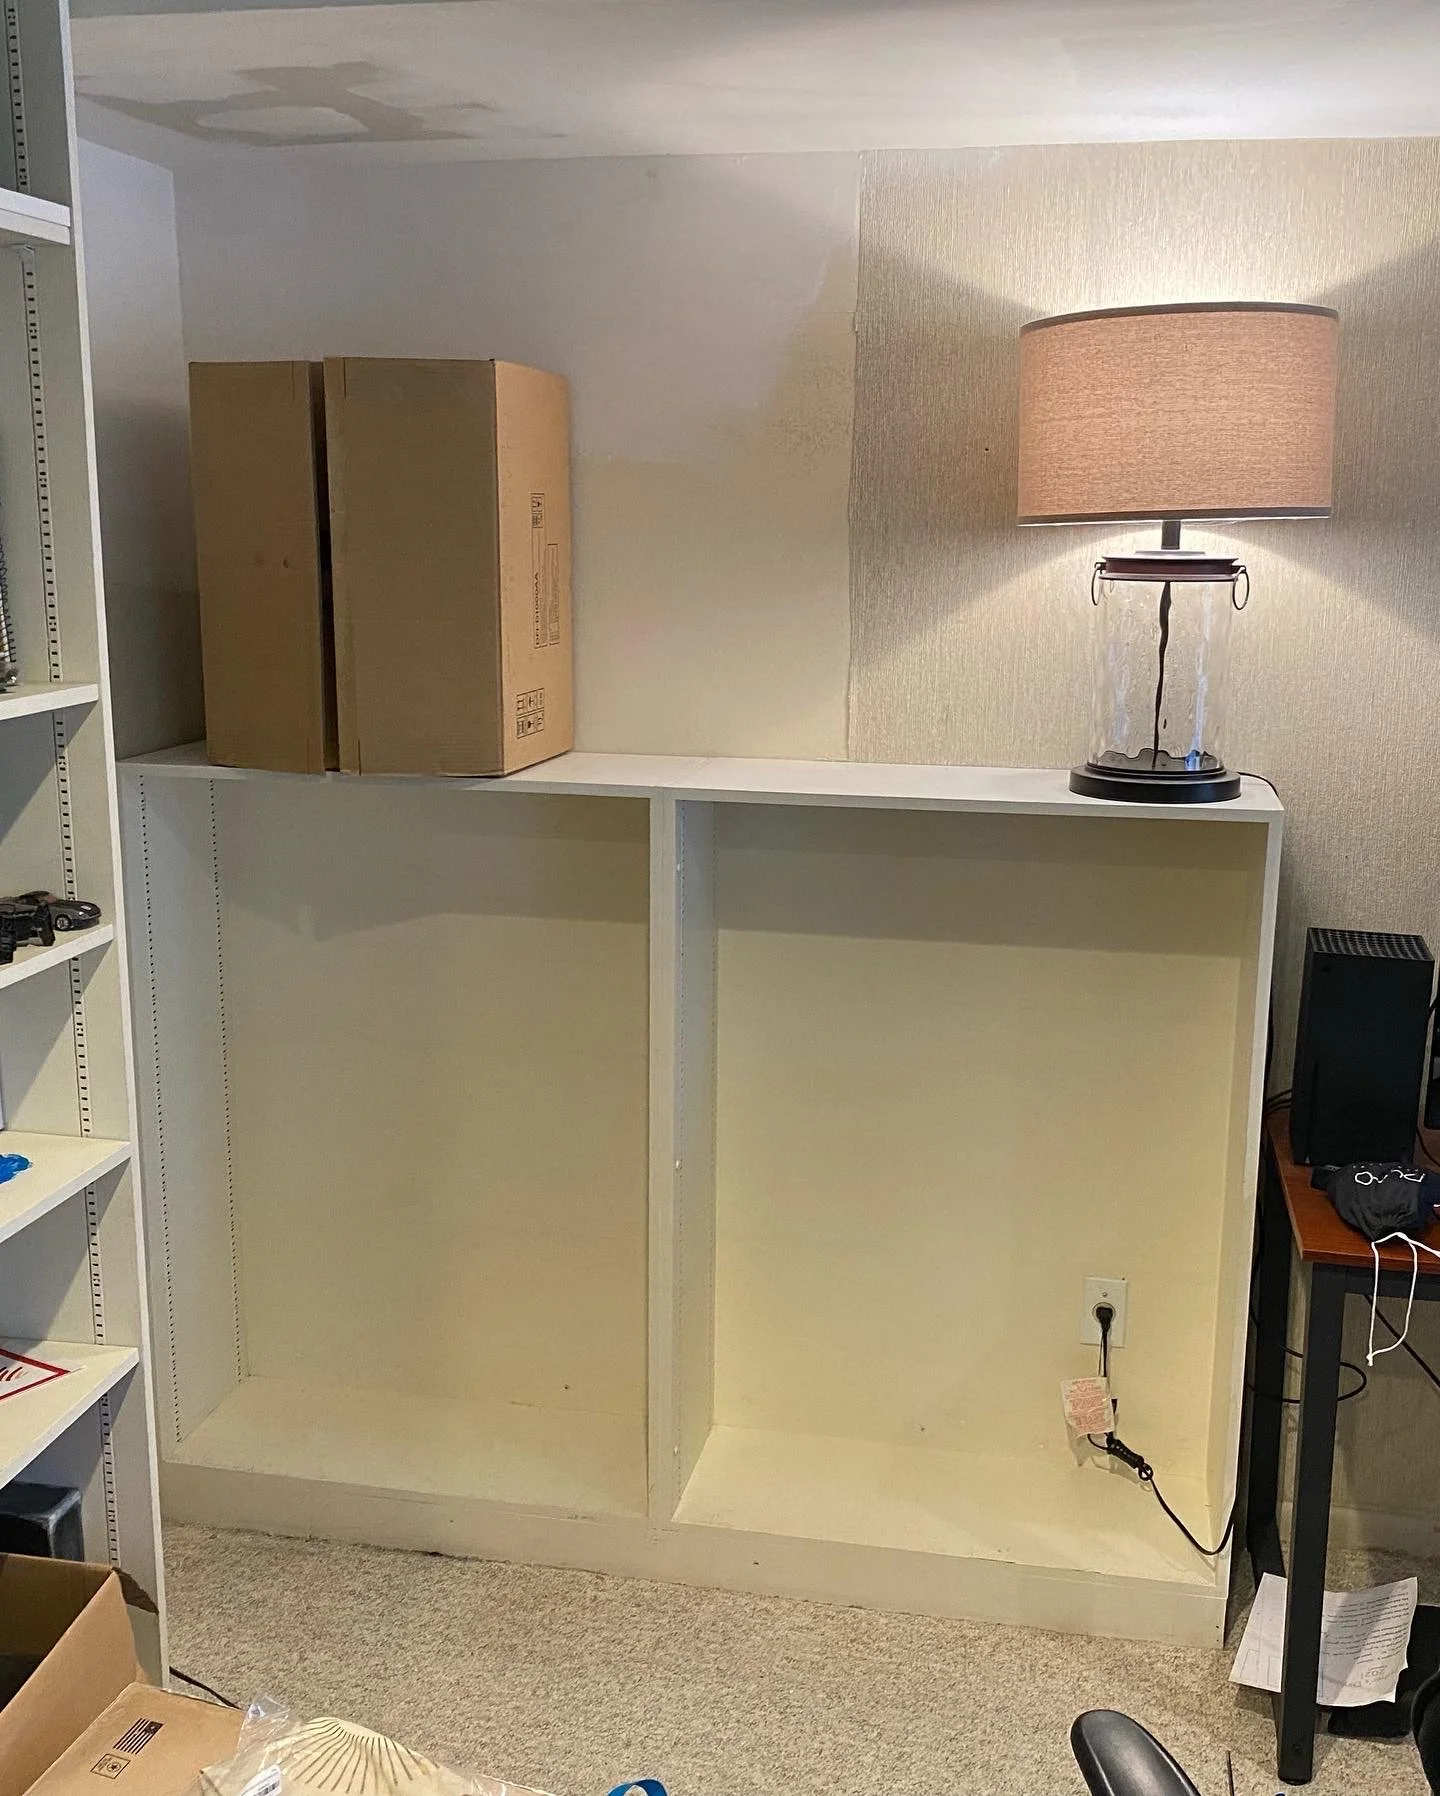
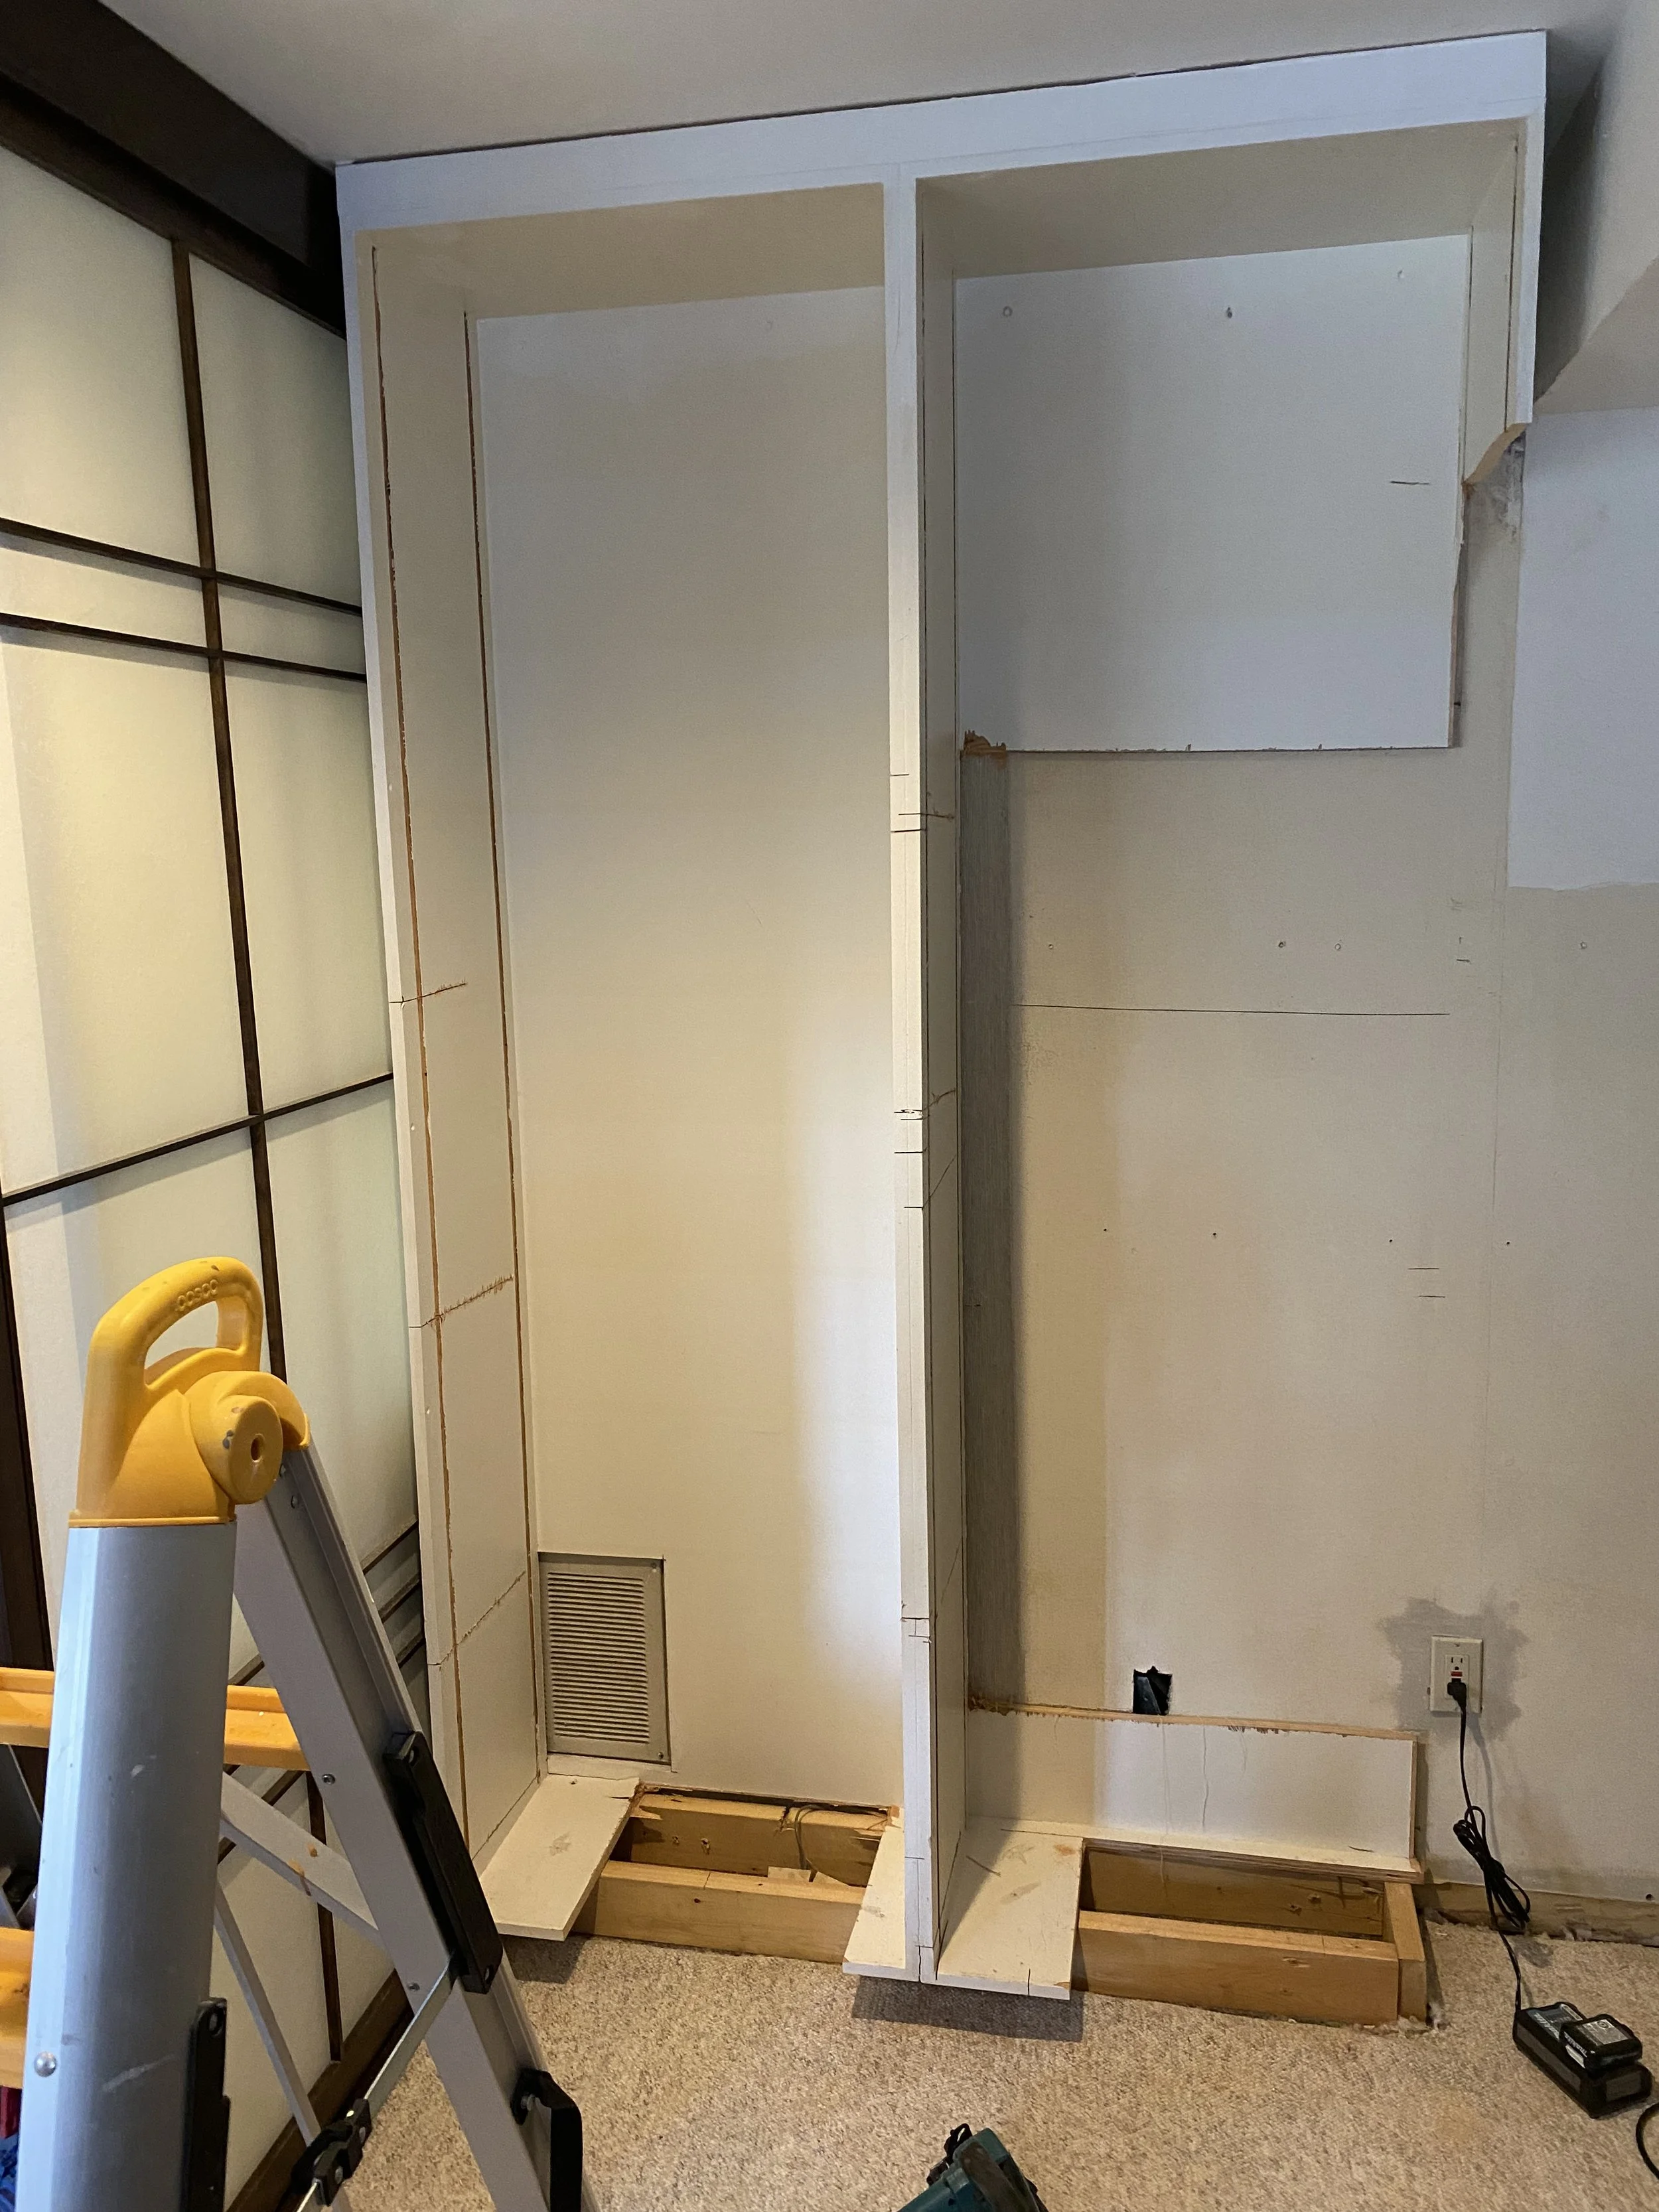
The rest was fair game. On February 27, 2022, I started ripping out the built-ins in his office area. It was not lost on me that I had just spent a lot of time putting built-ins into my area, but the ones in the basement needed to be better sized. All the rest of the old wallpaper came down. I had to laugh a bit – I kept getting emails and seeing posts about how grasscloth wallpaper was coming back. “Add texture and warmth to your walls!” Oh well. It can come back somewhere else.
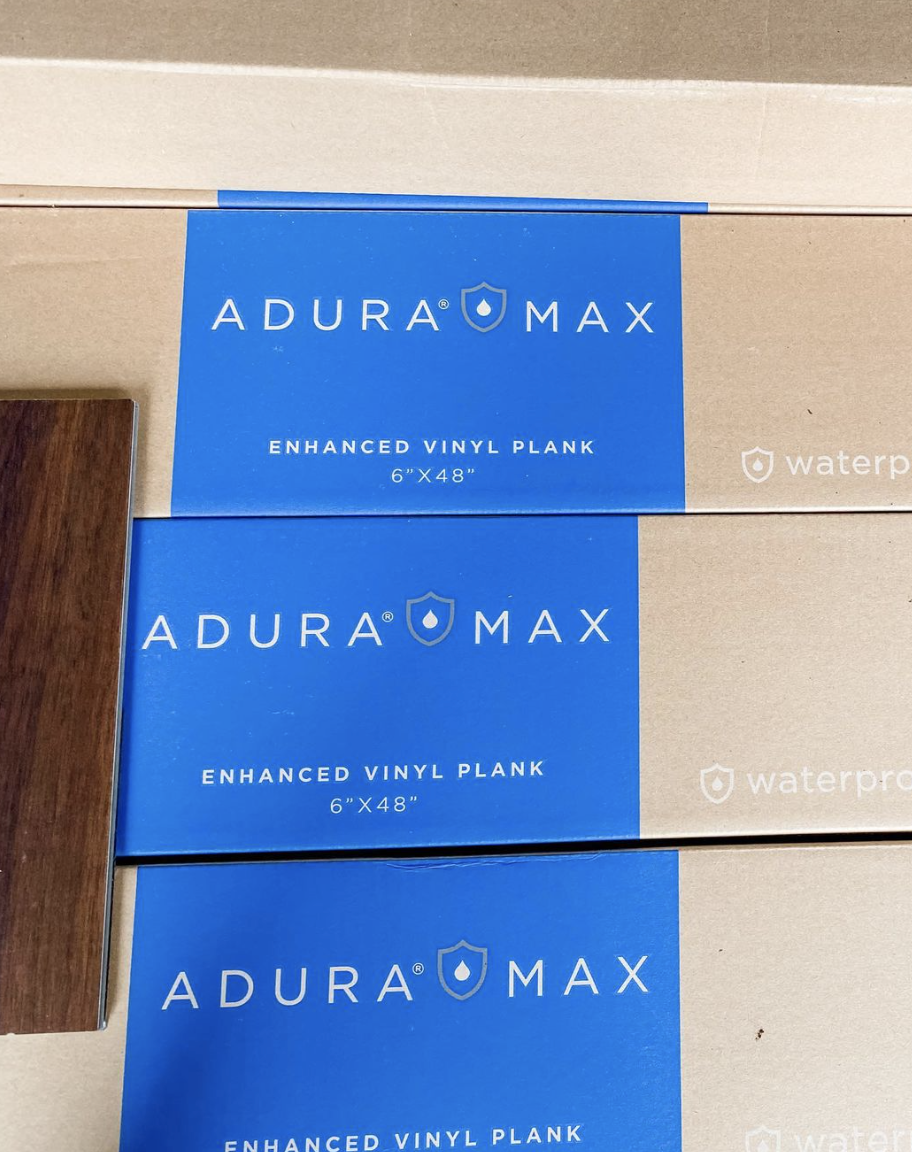
The carpet in the basement also desperately needed to go. I had spent months looking for the perfect flooring to match the stairs leading down to the basement. I knew I wanted vinyl flooring since the area serves as both our home gym and home office. After ordering and discarding many samples, I found the Mannington Adura Max Collection in Acacia African Sunset. I tried to purchase the floors locally, but it took a long time to make appointments. In the end, I ordered online from Efloors. Their pricing was excellent, and the flooring shipped out quickly.
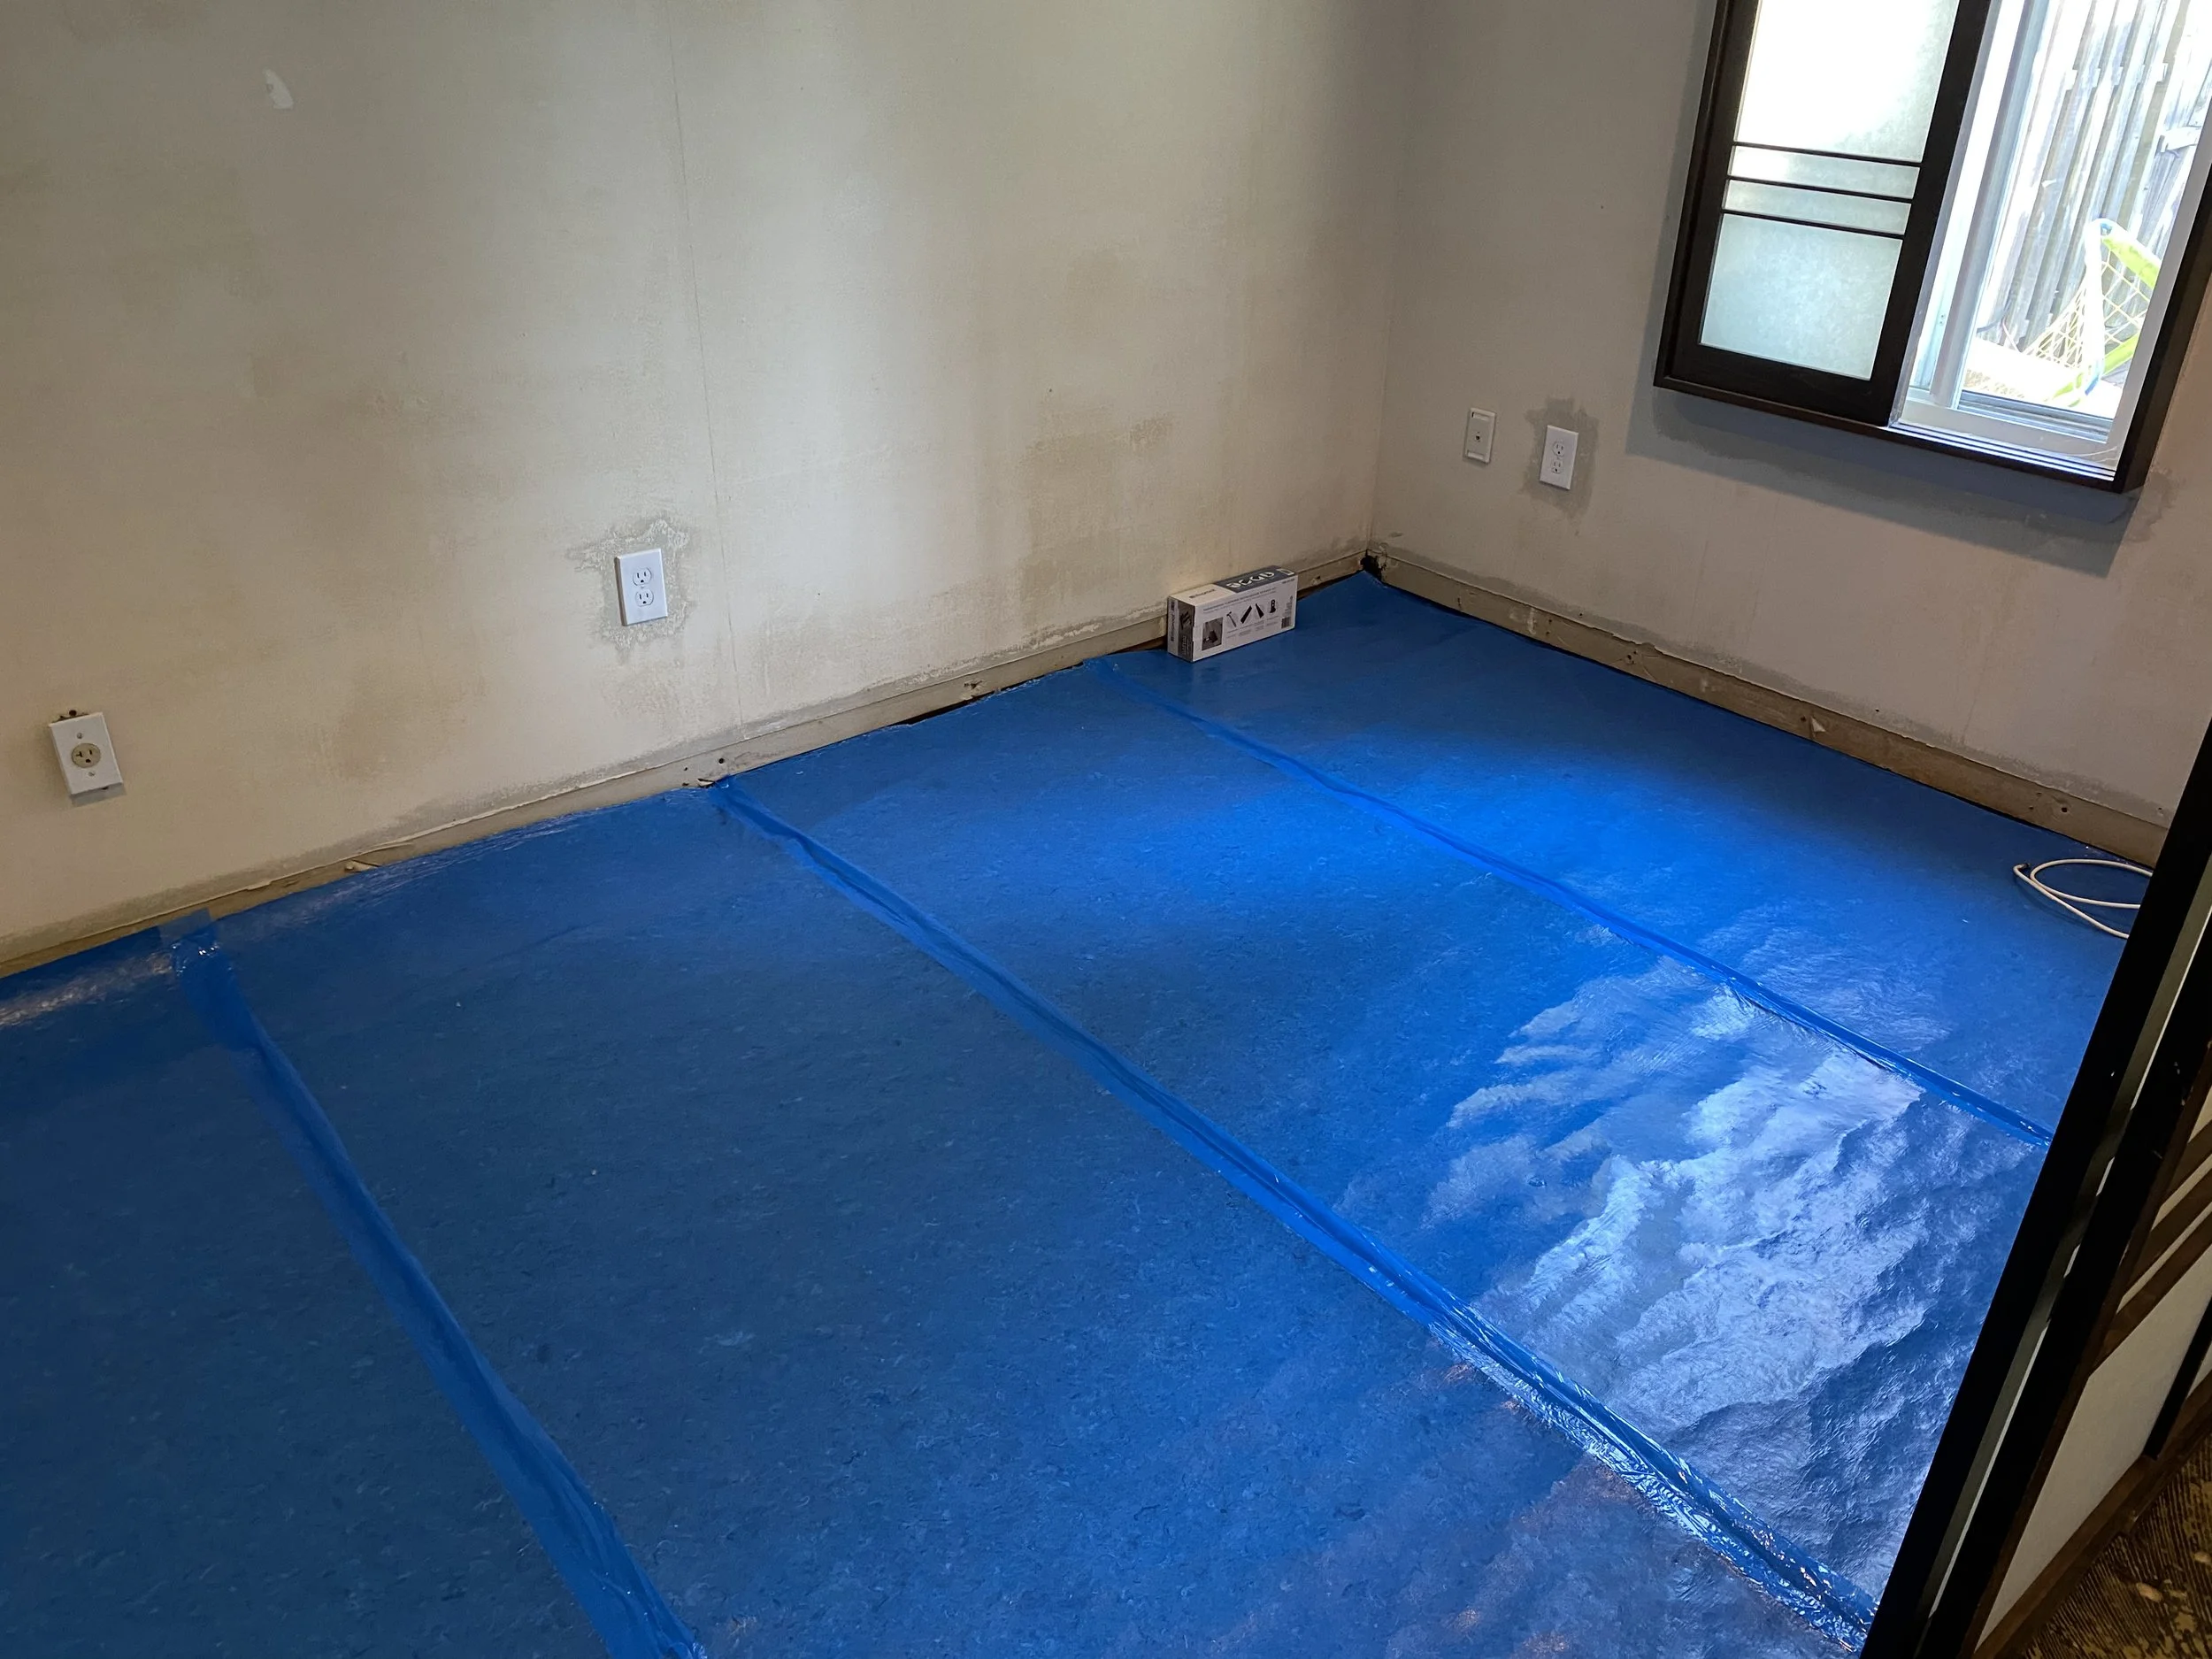
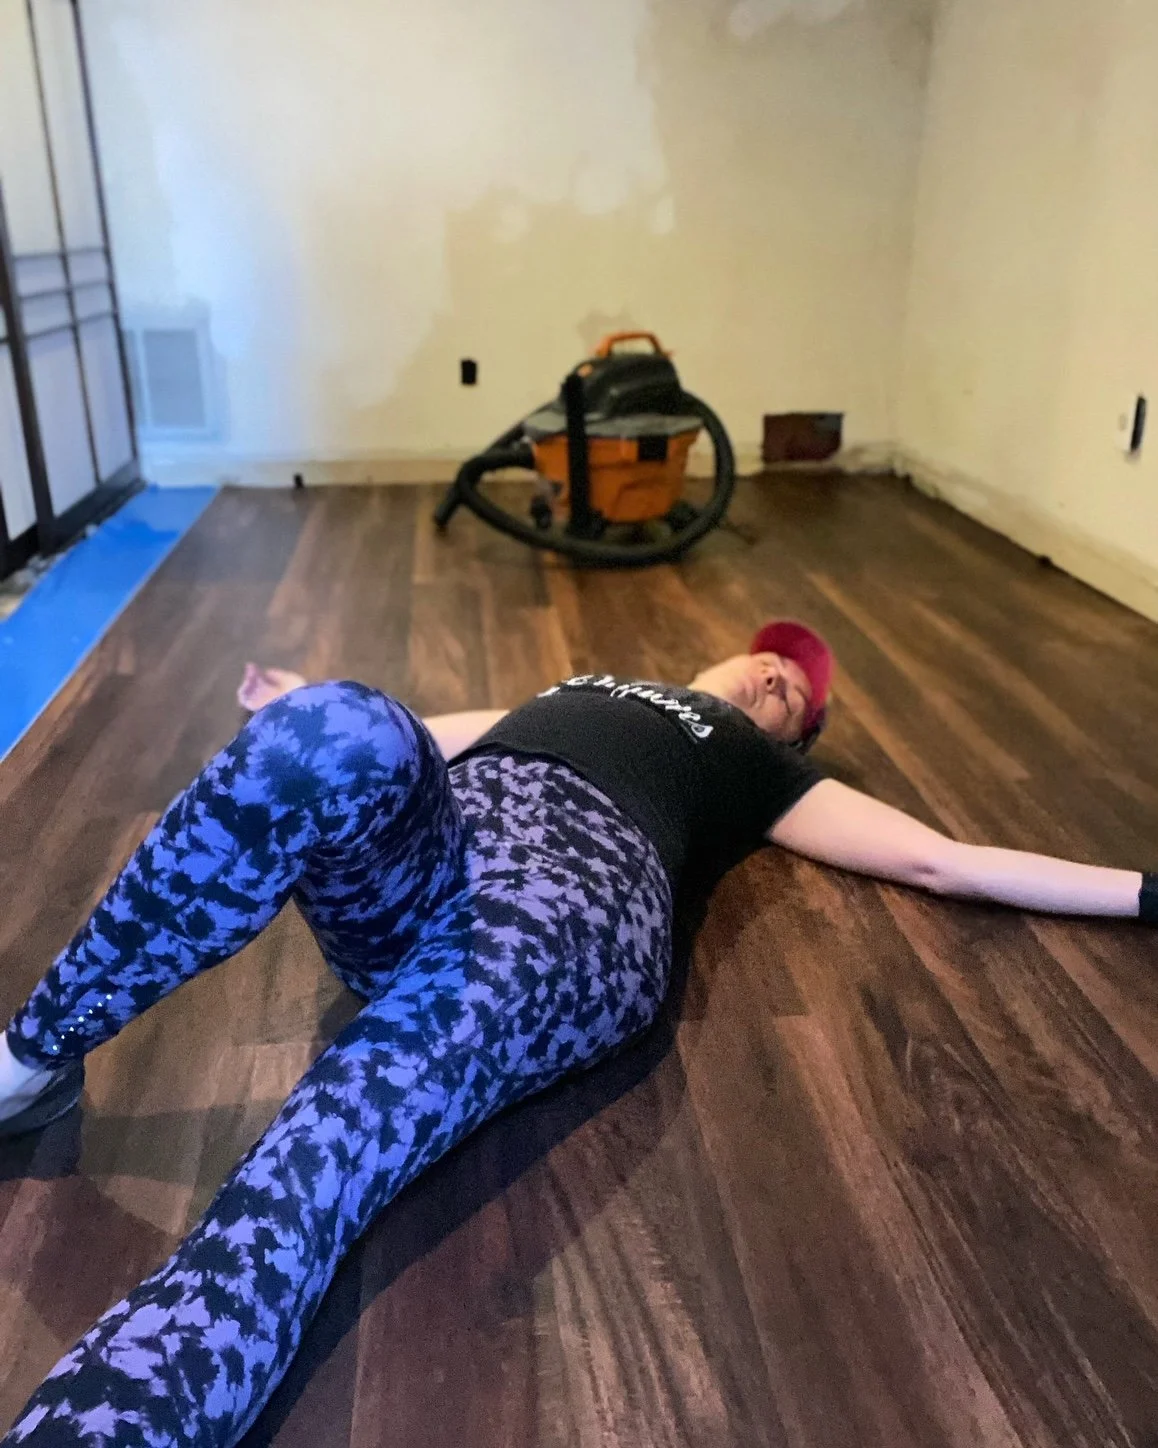
The Adura Max floors already have an underlayment built in, but because these floors were going over concrete basement flooring, I wanted an extra layer of insulation. In hindsight, I probably should have run the underlayment across the entire space (between the office and home gym) to cut down on cutting and sealing with seam guard, but I knew I only had the weekend to get the floors down in the office before having to move the furniture back in for work on Monday. I watched many YouTube videos to get the click-and-lock process down. Before starting, I bought a floor installation kit, just in case. I’m so glad I did, as I used it quite a bit to get all the pieces locked in just right. Overall, the installation was pretty easy. I used my Ryobi miter saw to quickly cut down the boards needing full cuts and my Ryobi jigsaw to cut out corners and doorways.
Once the floors were down, I started tackling the never ending job of skim-coating the walls. When I pulled the wallpaper off the walls in the stairwell, I spent many days using wallpaper paste remover and scraping every little bit off, then sanding the walls, only to have them not be as smooth as I wanted. This time, I opted to mud over the paste and smooth the walls in one go. Ok, not one go, but theoretically the same process.
After this project, skim-coating walls has become my least favorite thing to do - it has now beat out caulking. Even knowing I’ll sand off the little ridges, it is still challenging to get everything level and get all those pesky little air bubbles. I have read some tutorials where people add a squirt of dish soap to the mix, but I haven’t tried that. I’ve also read that mixing your own vs. buying the premixed compound that I used helps with the bubbles. Since I’m generally breaking this up over several days, I wanted something I could seal up and keep using. Regardless, the walls still generally needed at least two and sometimes three coats to eliminate all the bumps and bubbles. I sanded down the walls using a radial sander and ensured it was connected to the shop vac. Then I used a damp sponge to wipe up the excess dust and do any last bits of smoothing. The final step before painting was priming and sealing the walls with KILZ Mold & Mildew. The back wall is painted with Behr Dynasty in cracked pepper.
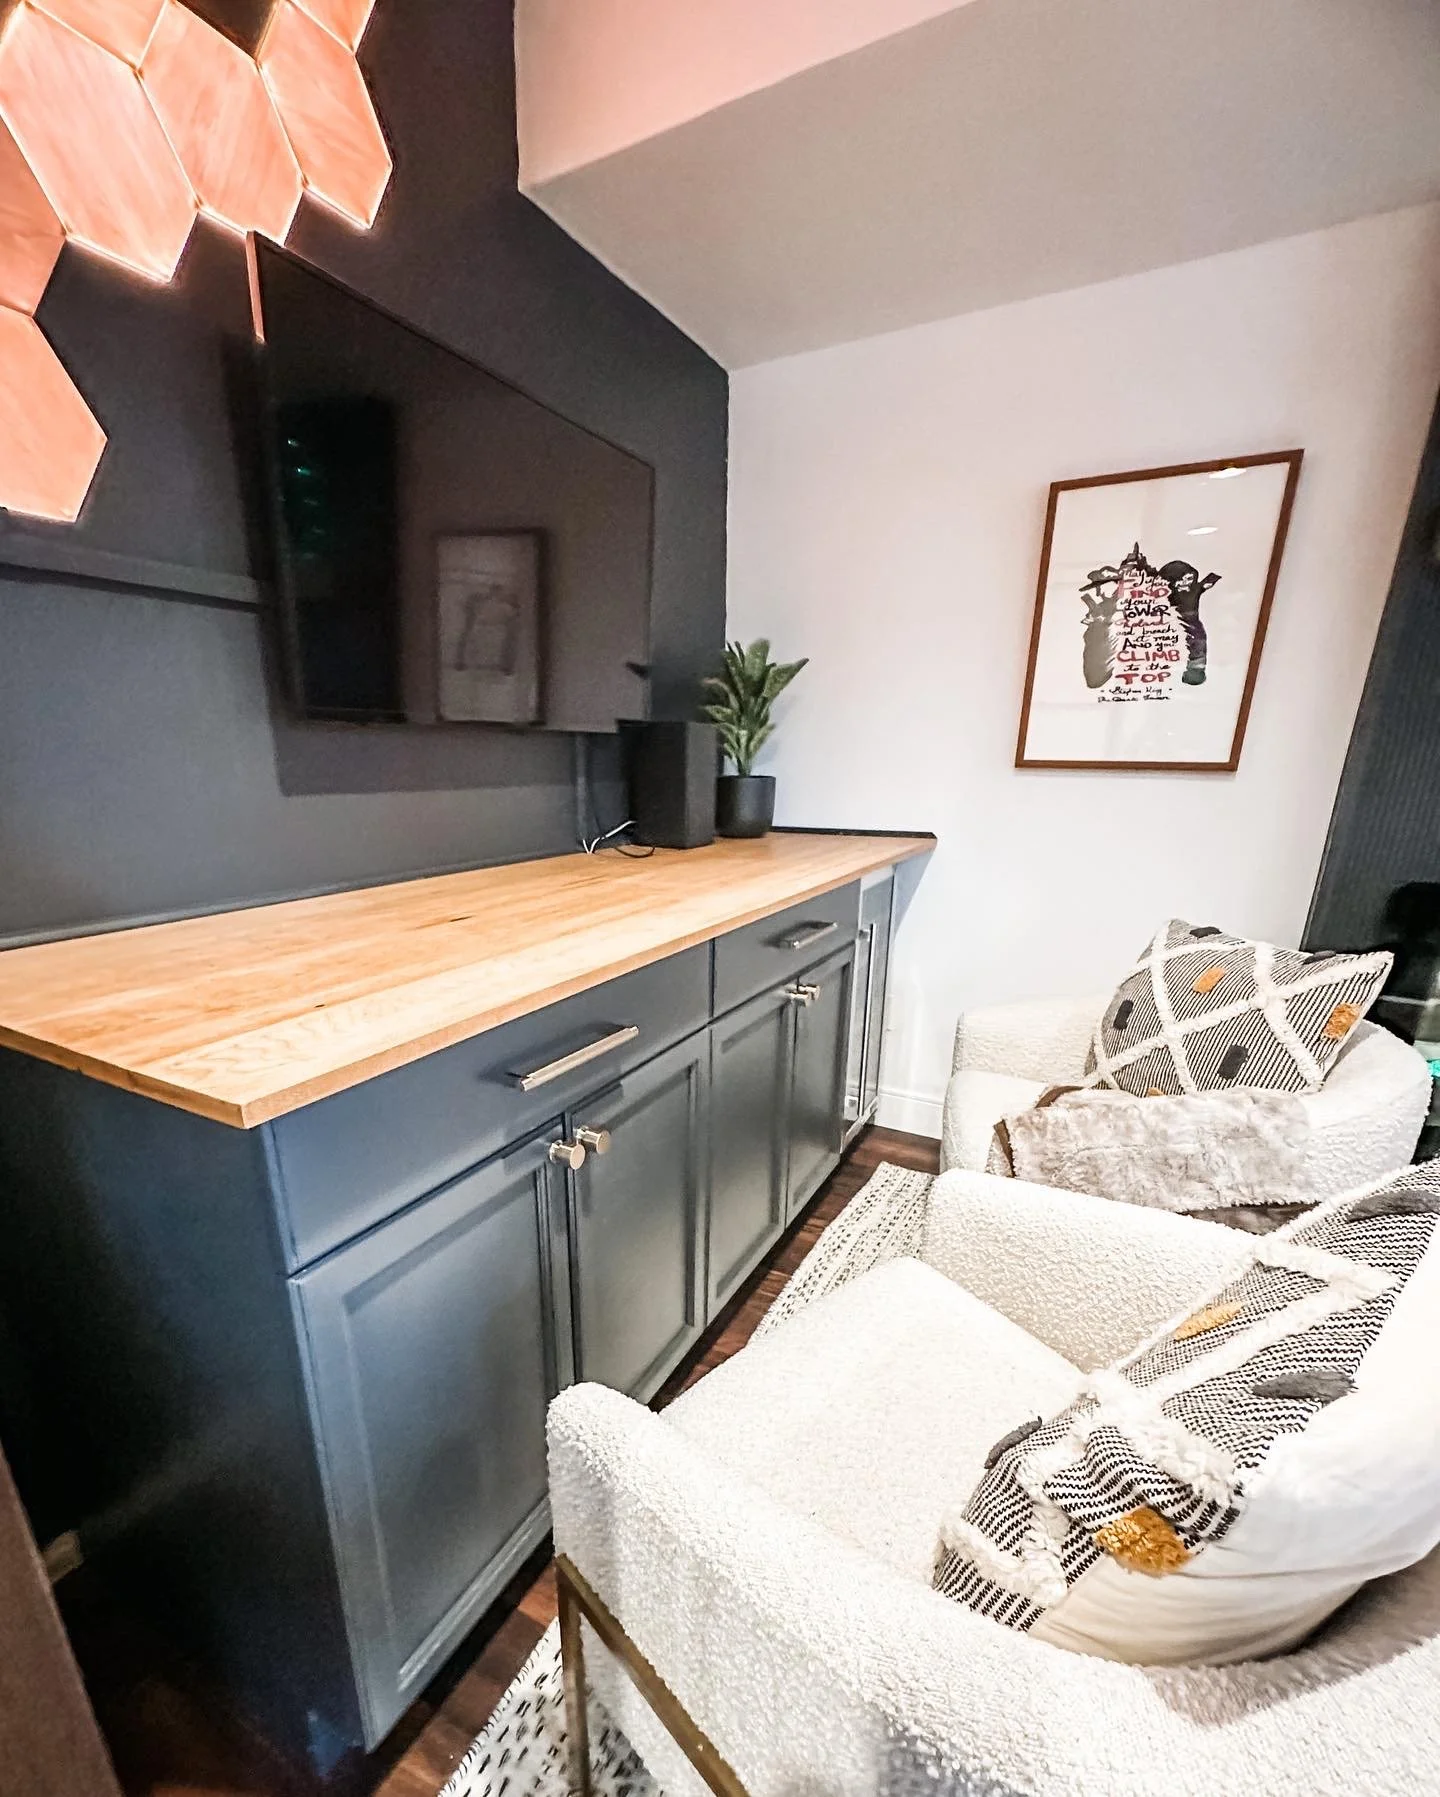
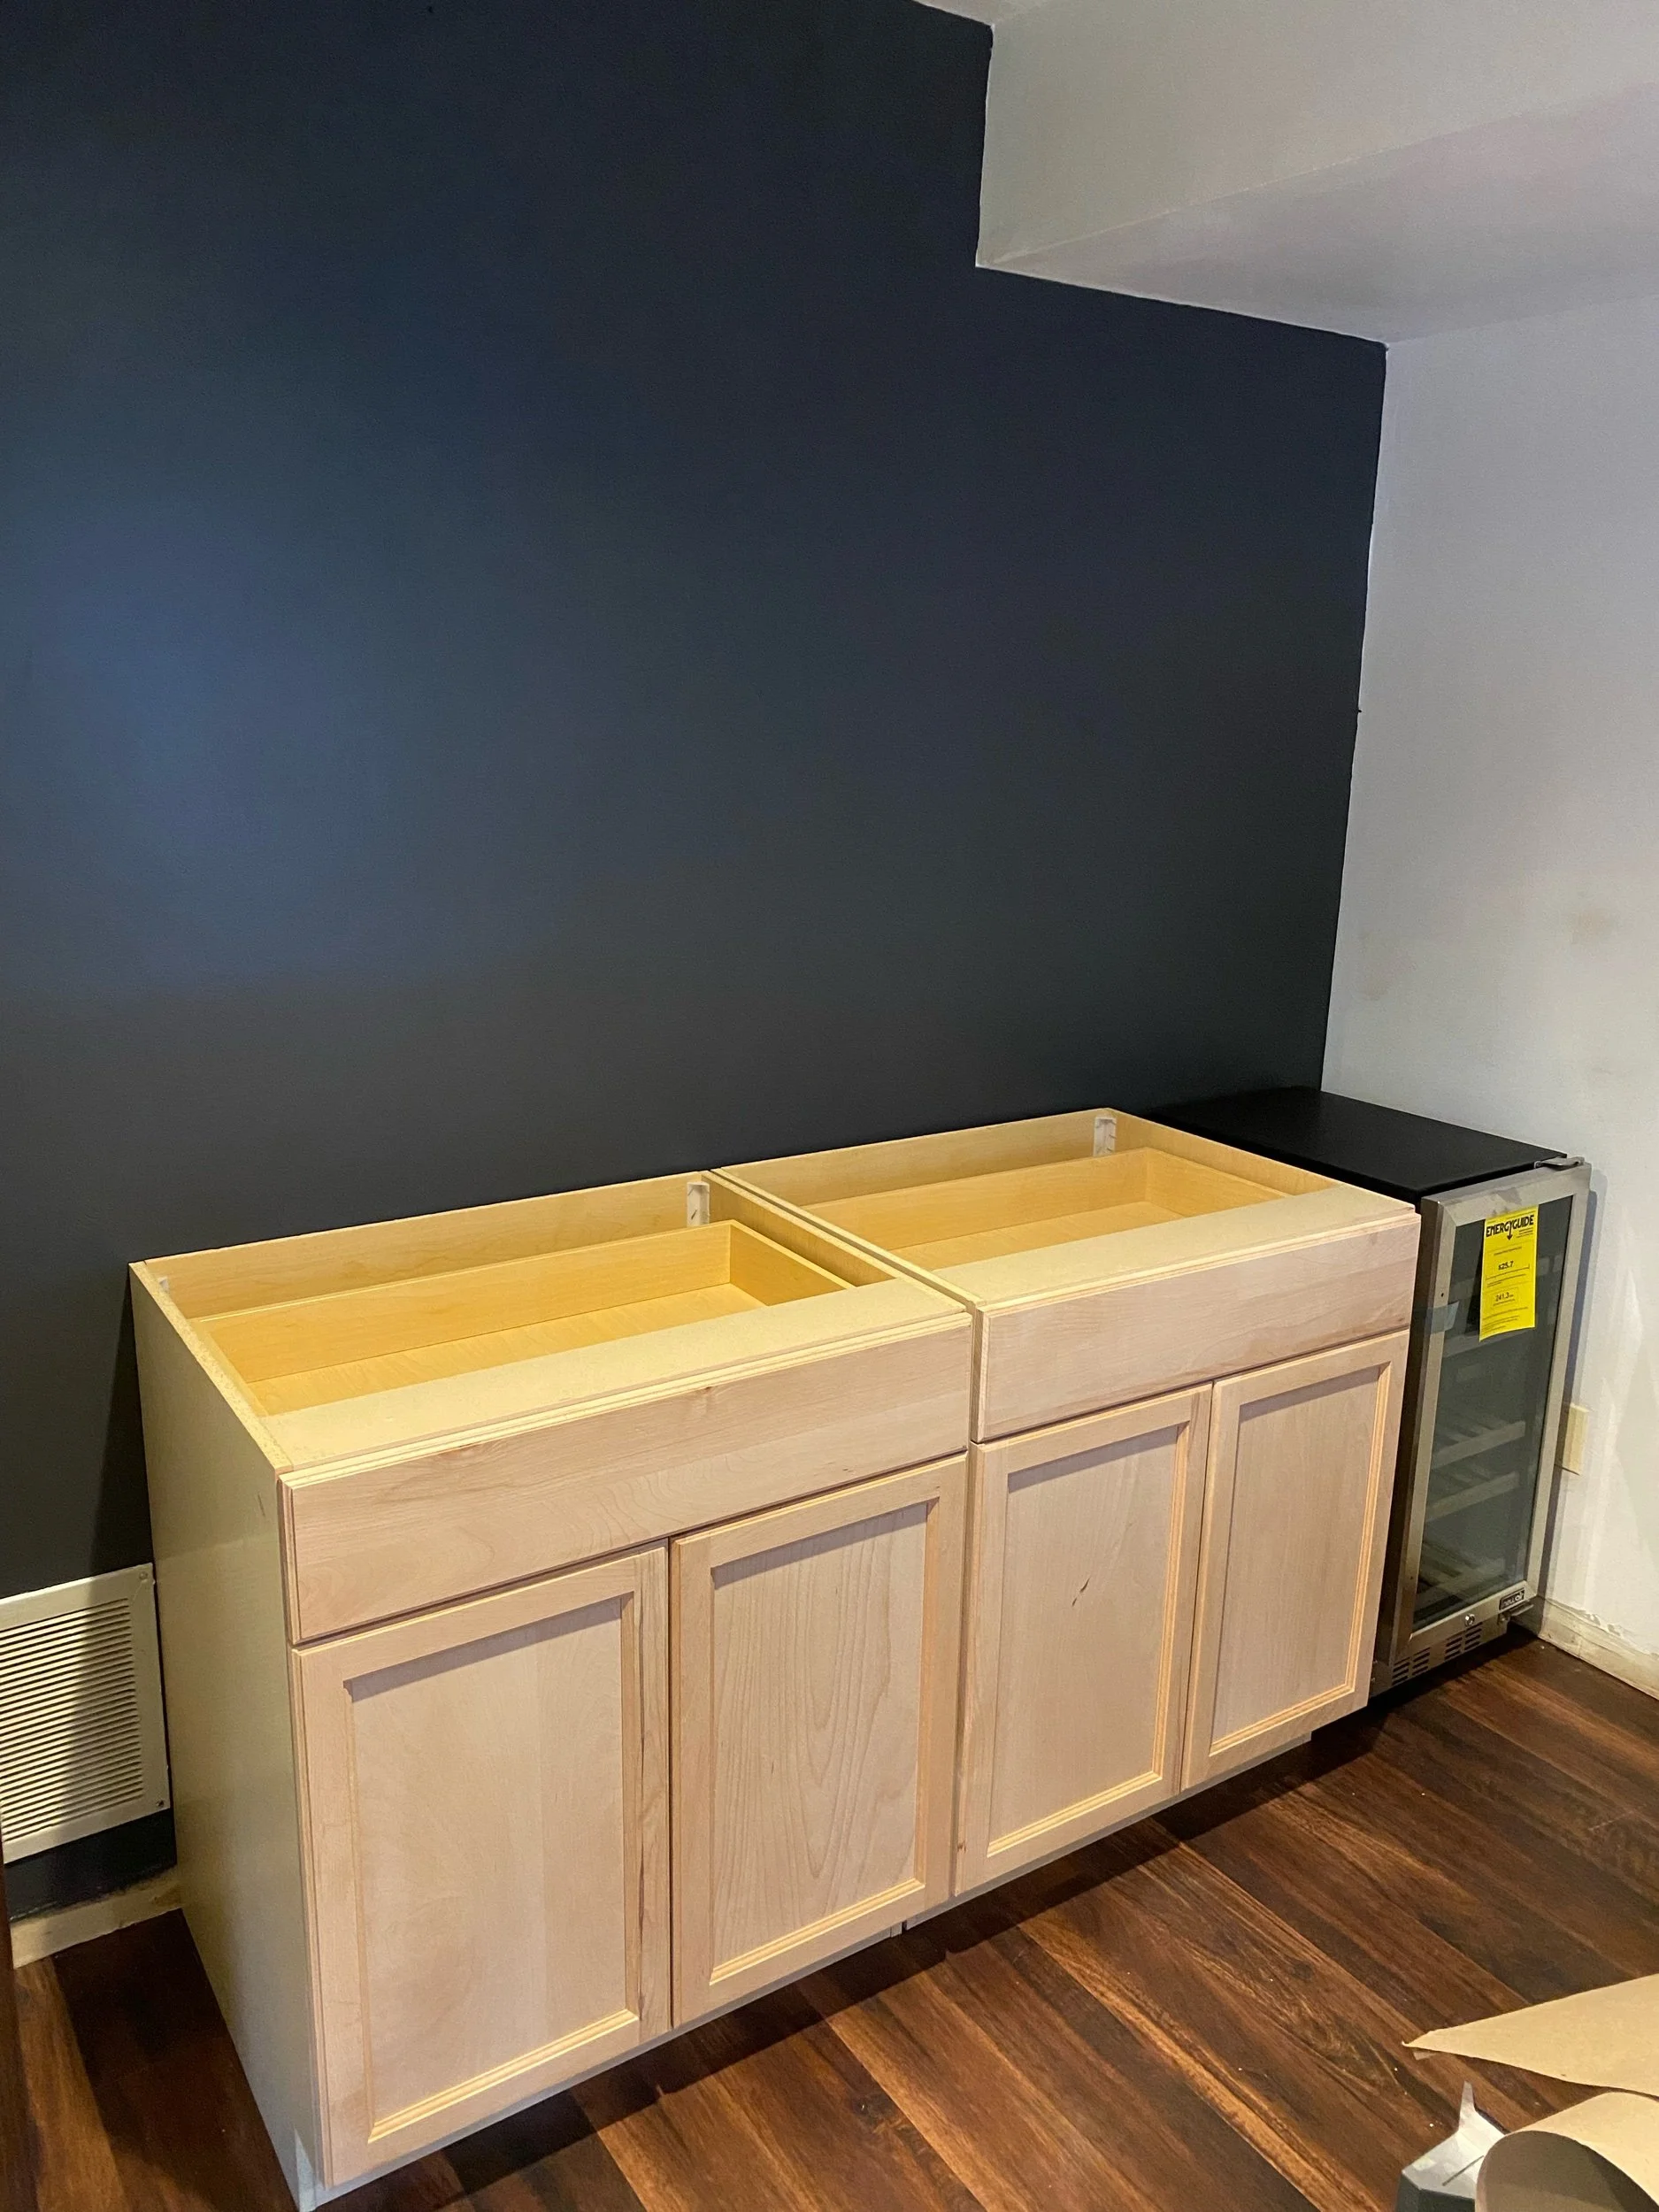
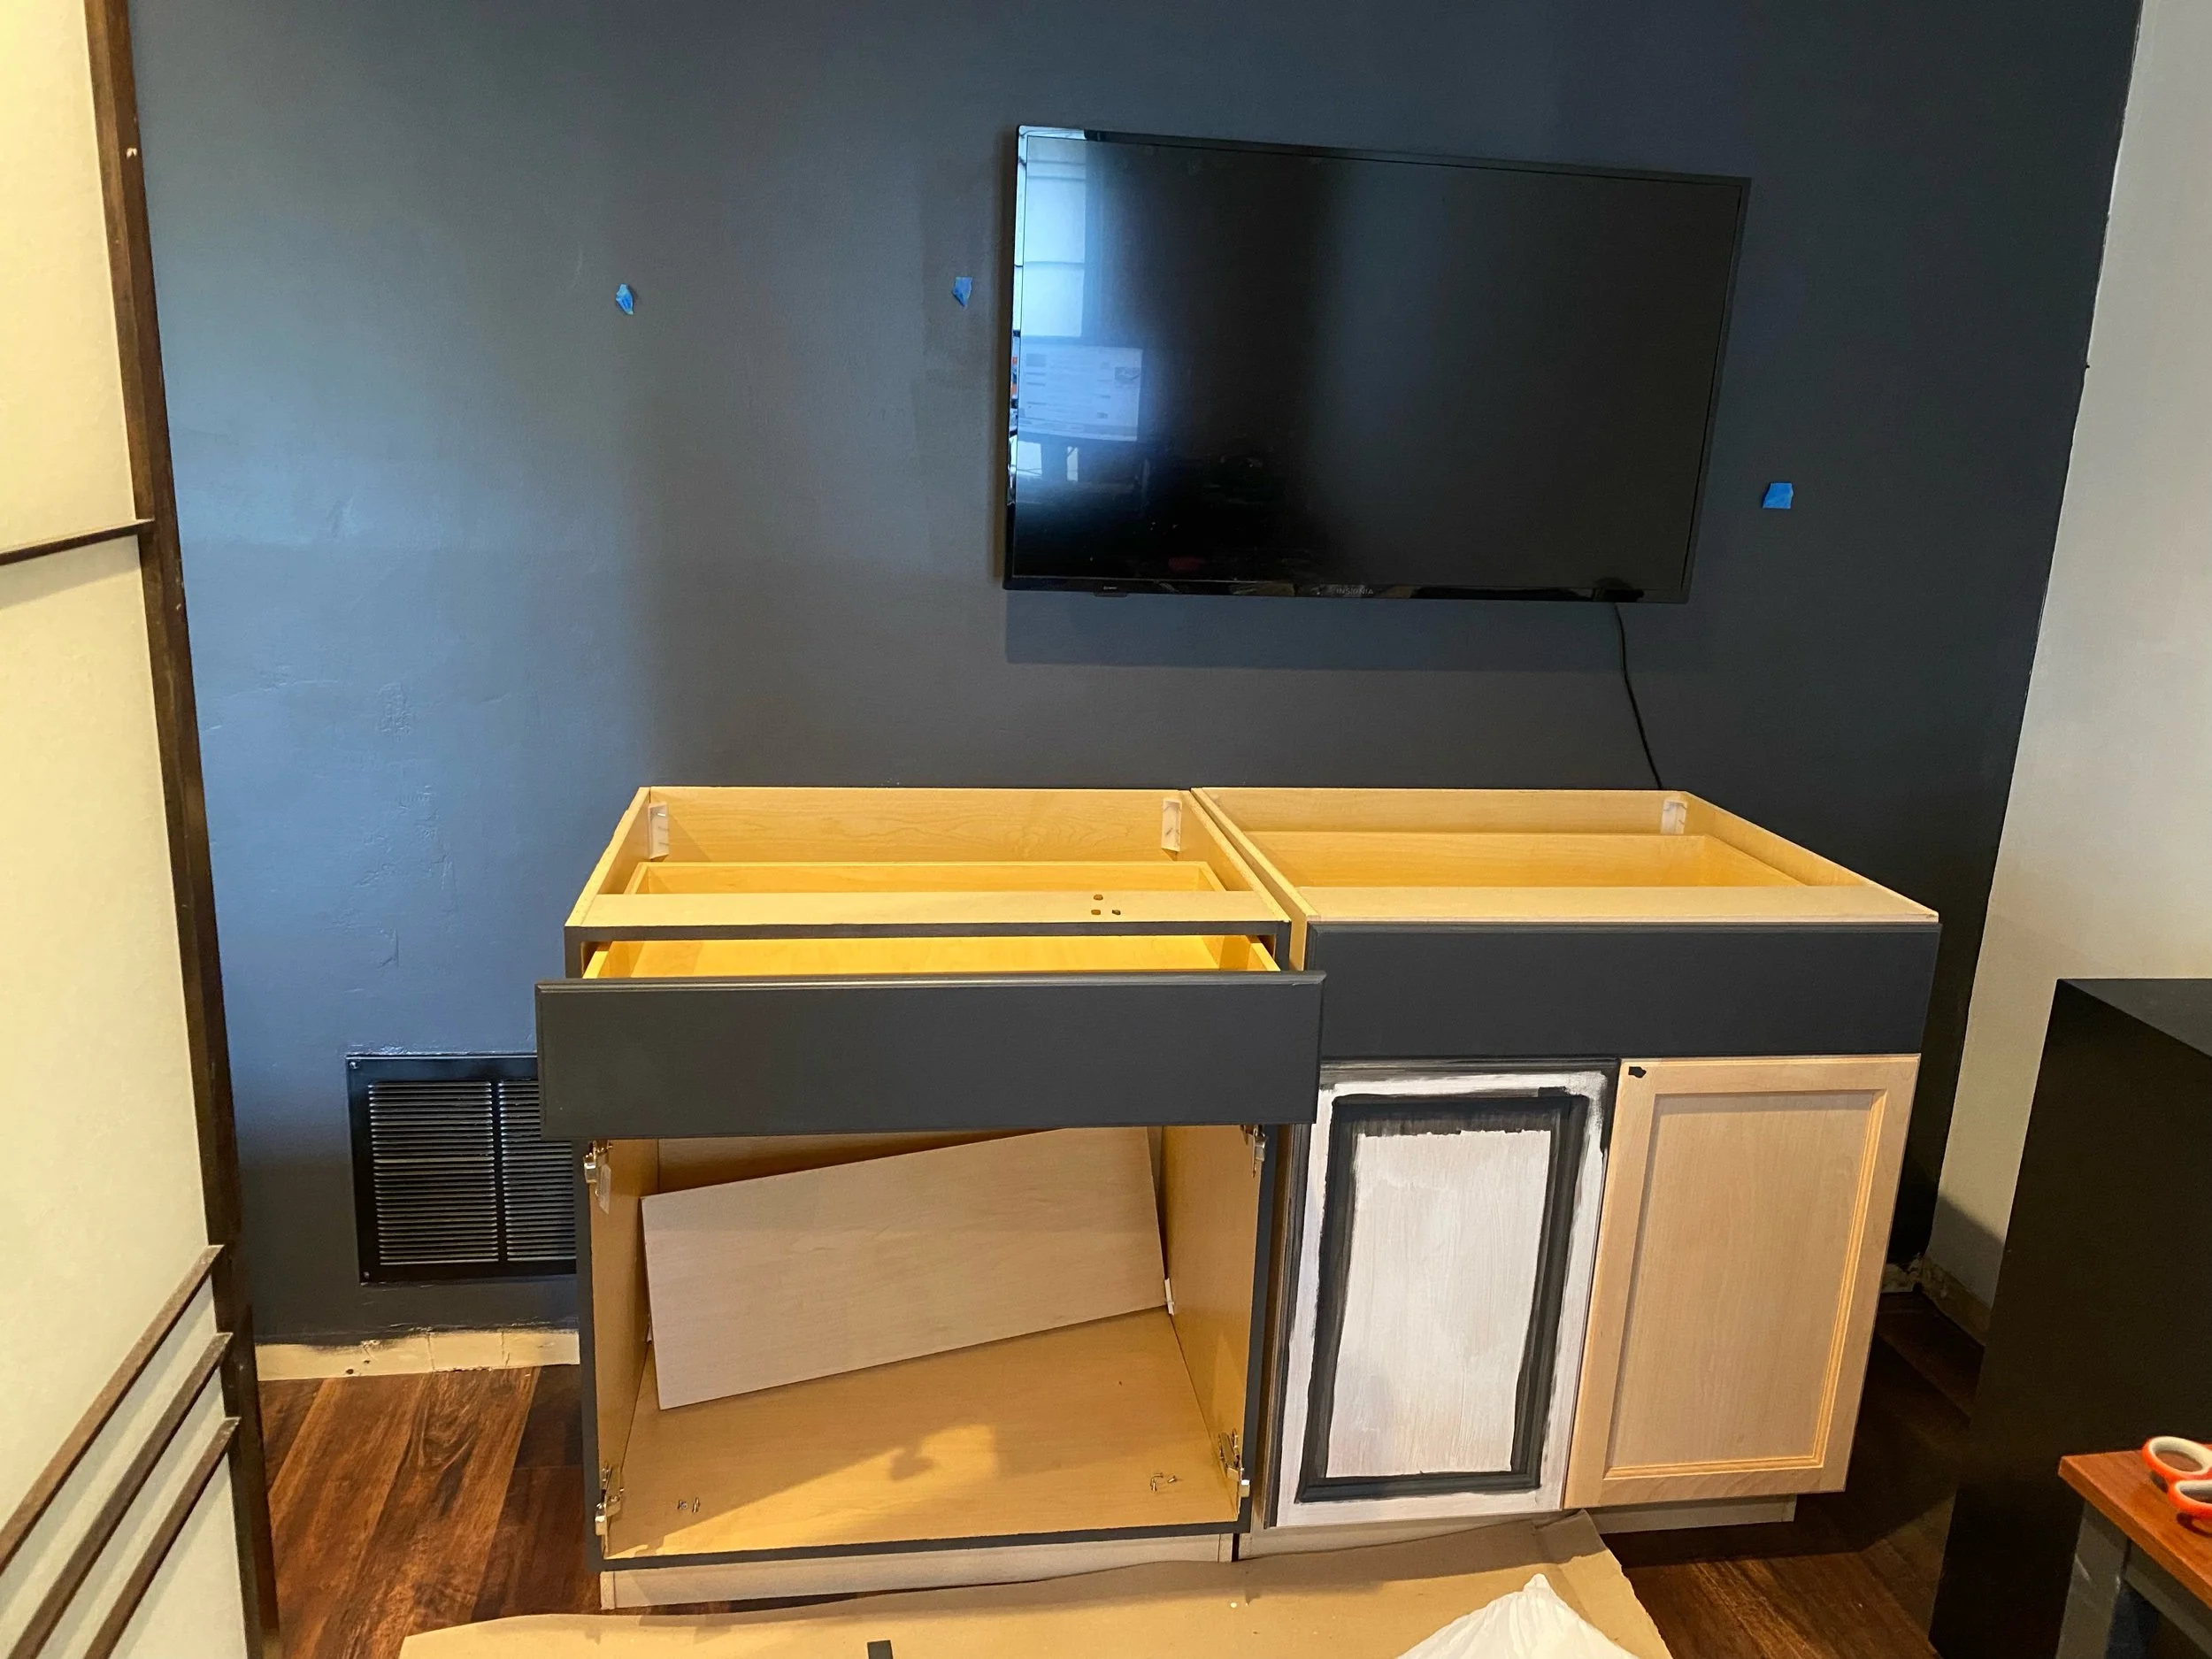
While I have seen many people use prebuilt, unfinished kitchen cabinets, Lindsay Dean of Frills and Drills is the queen of using them to completely transform a space. After watching her create a movie room for friends, I used the bar she built as inspiration for our TV wall. I purchased two of the Easthaven assembled base cabinets from Home Depot. They are screwed together and screwed into the studs behind them. The exteriors were primed first with Zinsser BIN primer, then finished with Behr enamel paint in cracked pepper. To round out our classy look, a dual-zone wine fridge keeps several Mountain Dew vintages at just the right temperature. In reality, I ordered the wrong thing - I meant to get a refrigerator to hold bottles and cans. Honestly, the shelves of the wine fridge look much nicer anyway; I just wish it got colder. The real star of the show is the cabinet hardware. I had no idea how much knobs and pulls could change or elevate the look of a room. The ones used here are Emtek Knurled Cabinet Pull with Satin Brass Stem Finish and Prosser Cabinet Knobs. Last but not least, the lights are Nanoleaf Elements. I love that you can shape them in different ways to meet the needs of your space.
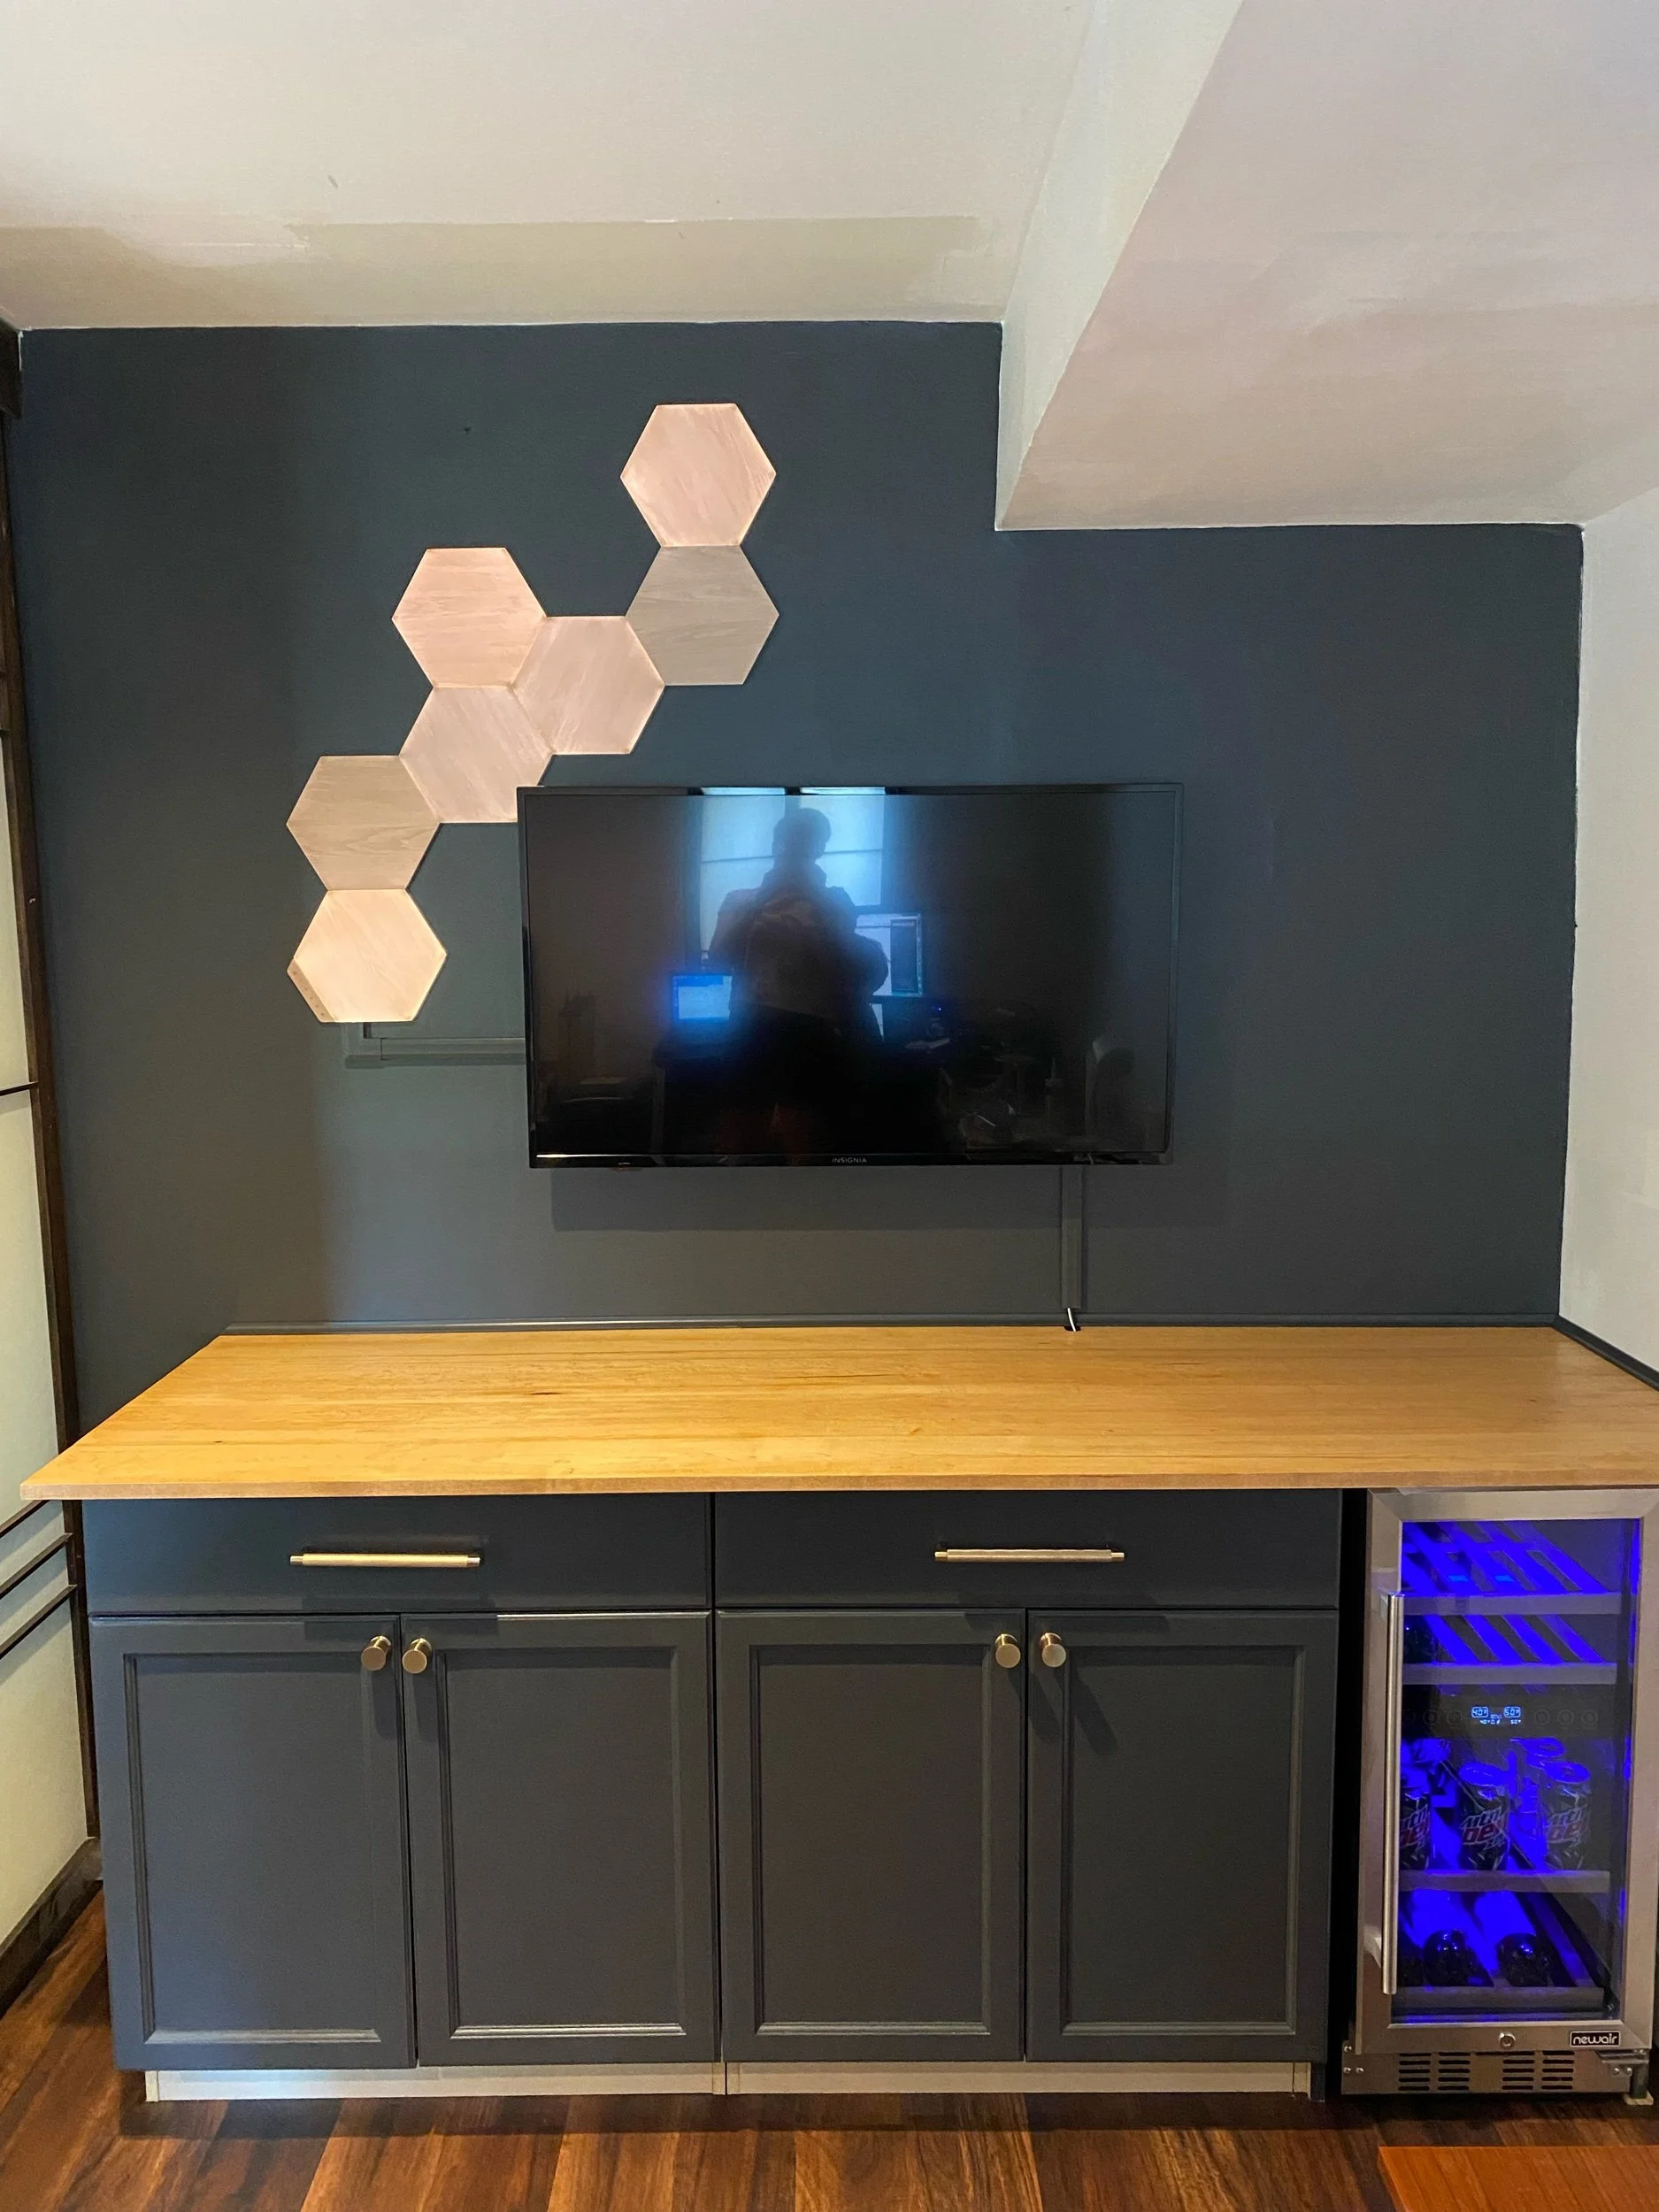
In writing this up, I realize I didn’t get any pictures of myself making the countertop. I used 1 x 6 maple boards to create the top. I cut them down so that when finished, the sides and front would have a 1” overhang over the cabinets. Wood glue and pocket holes made with a Kreg Pocket Hole Jig on the underside hold everything together. Even though I clamped the boards together, I didn’t do a great job of it and nothing was level. I used a hand planer to level everything out before sanding with my orbital sander and staining with Varthane Golden Oak.
And that’s where I stopped for a very long time. I would walk downstairs and see the fireplace sitting in a box and know I needed to get back to it. But I had sisters to visit and baseball games to attend, track meets to cheer at, and field trips to chaperone. On June 24, when the Supreme Court overturned Roe v. Wade, my fury needed an outlet and so I built a wall for the fireplace.
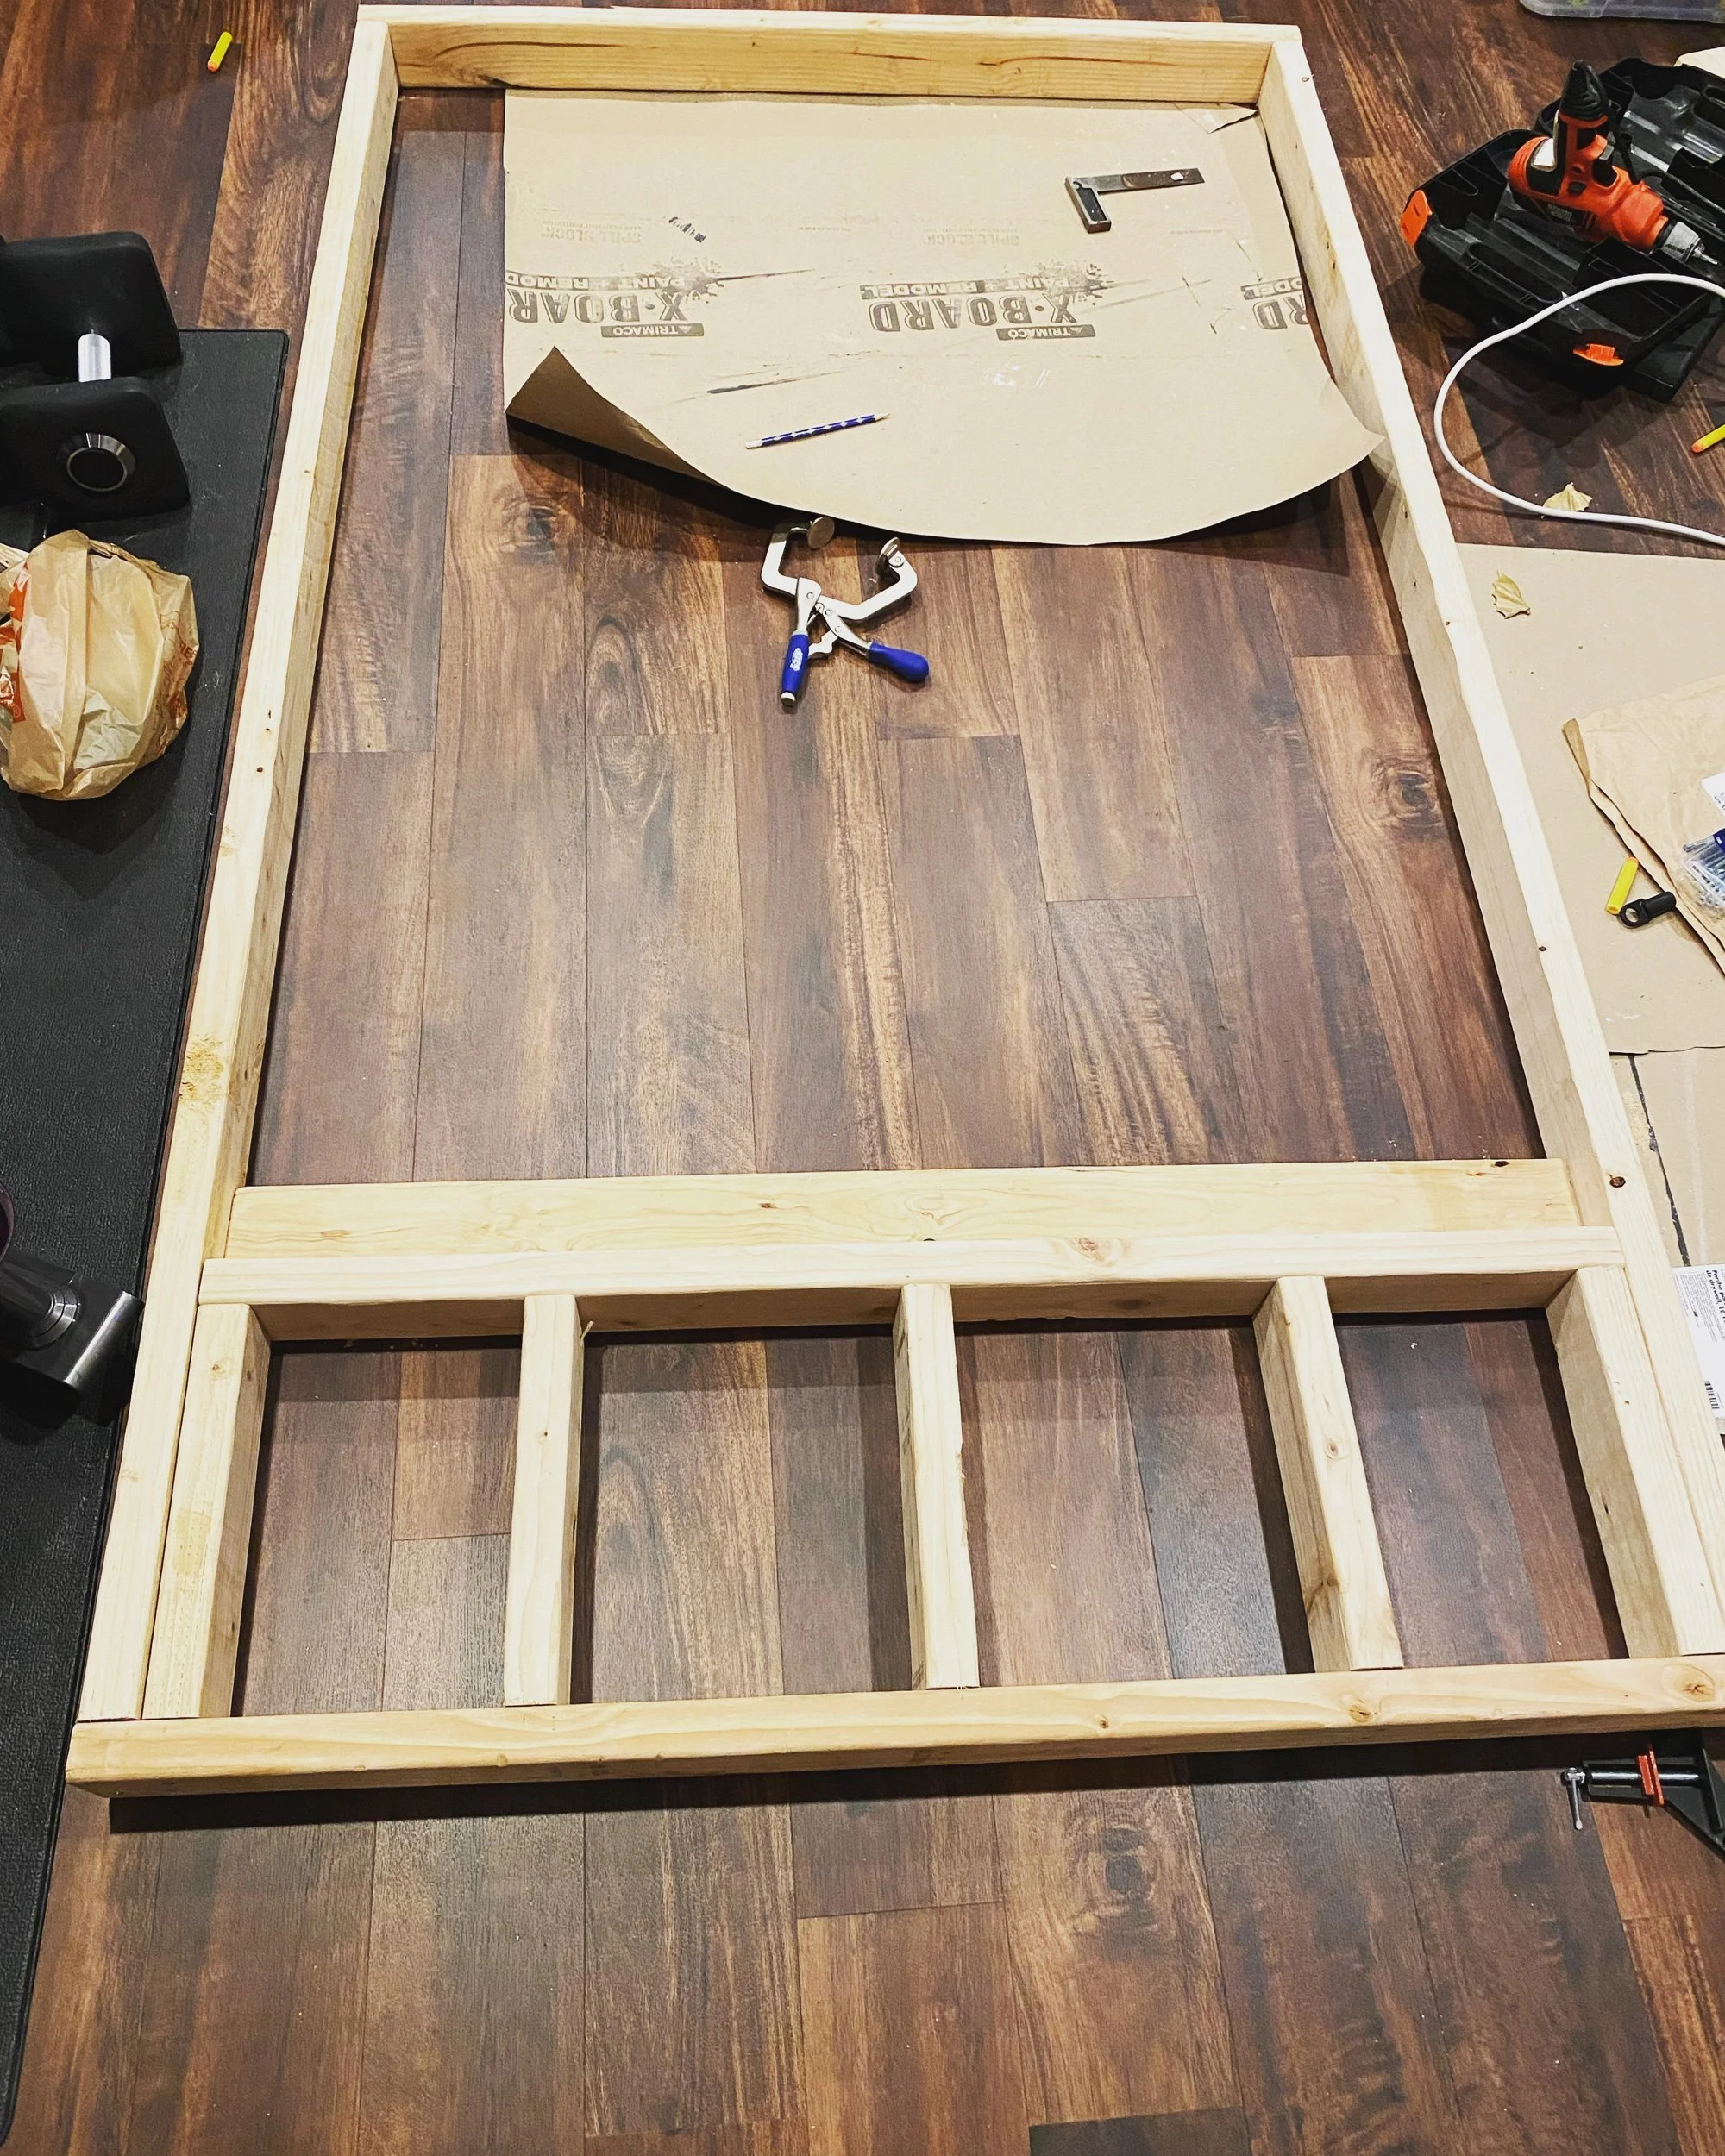
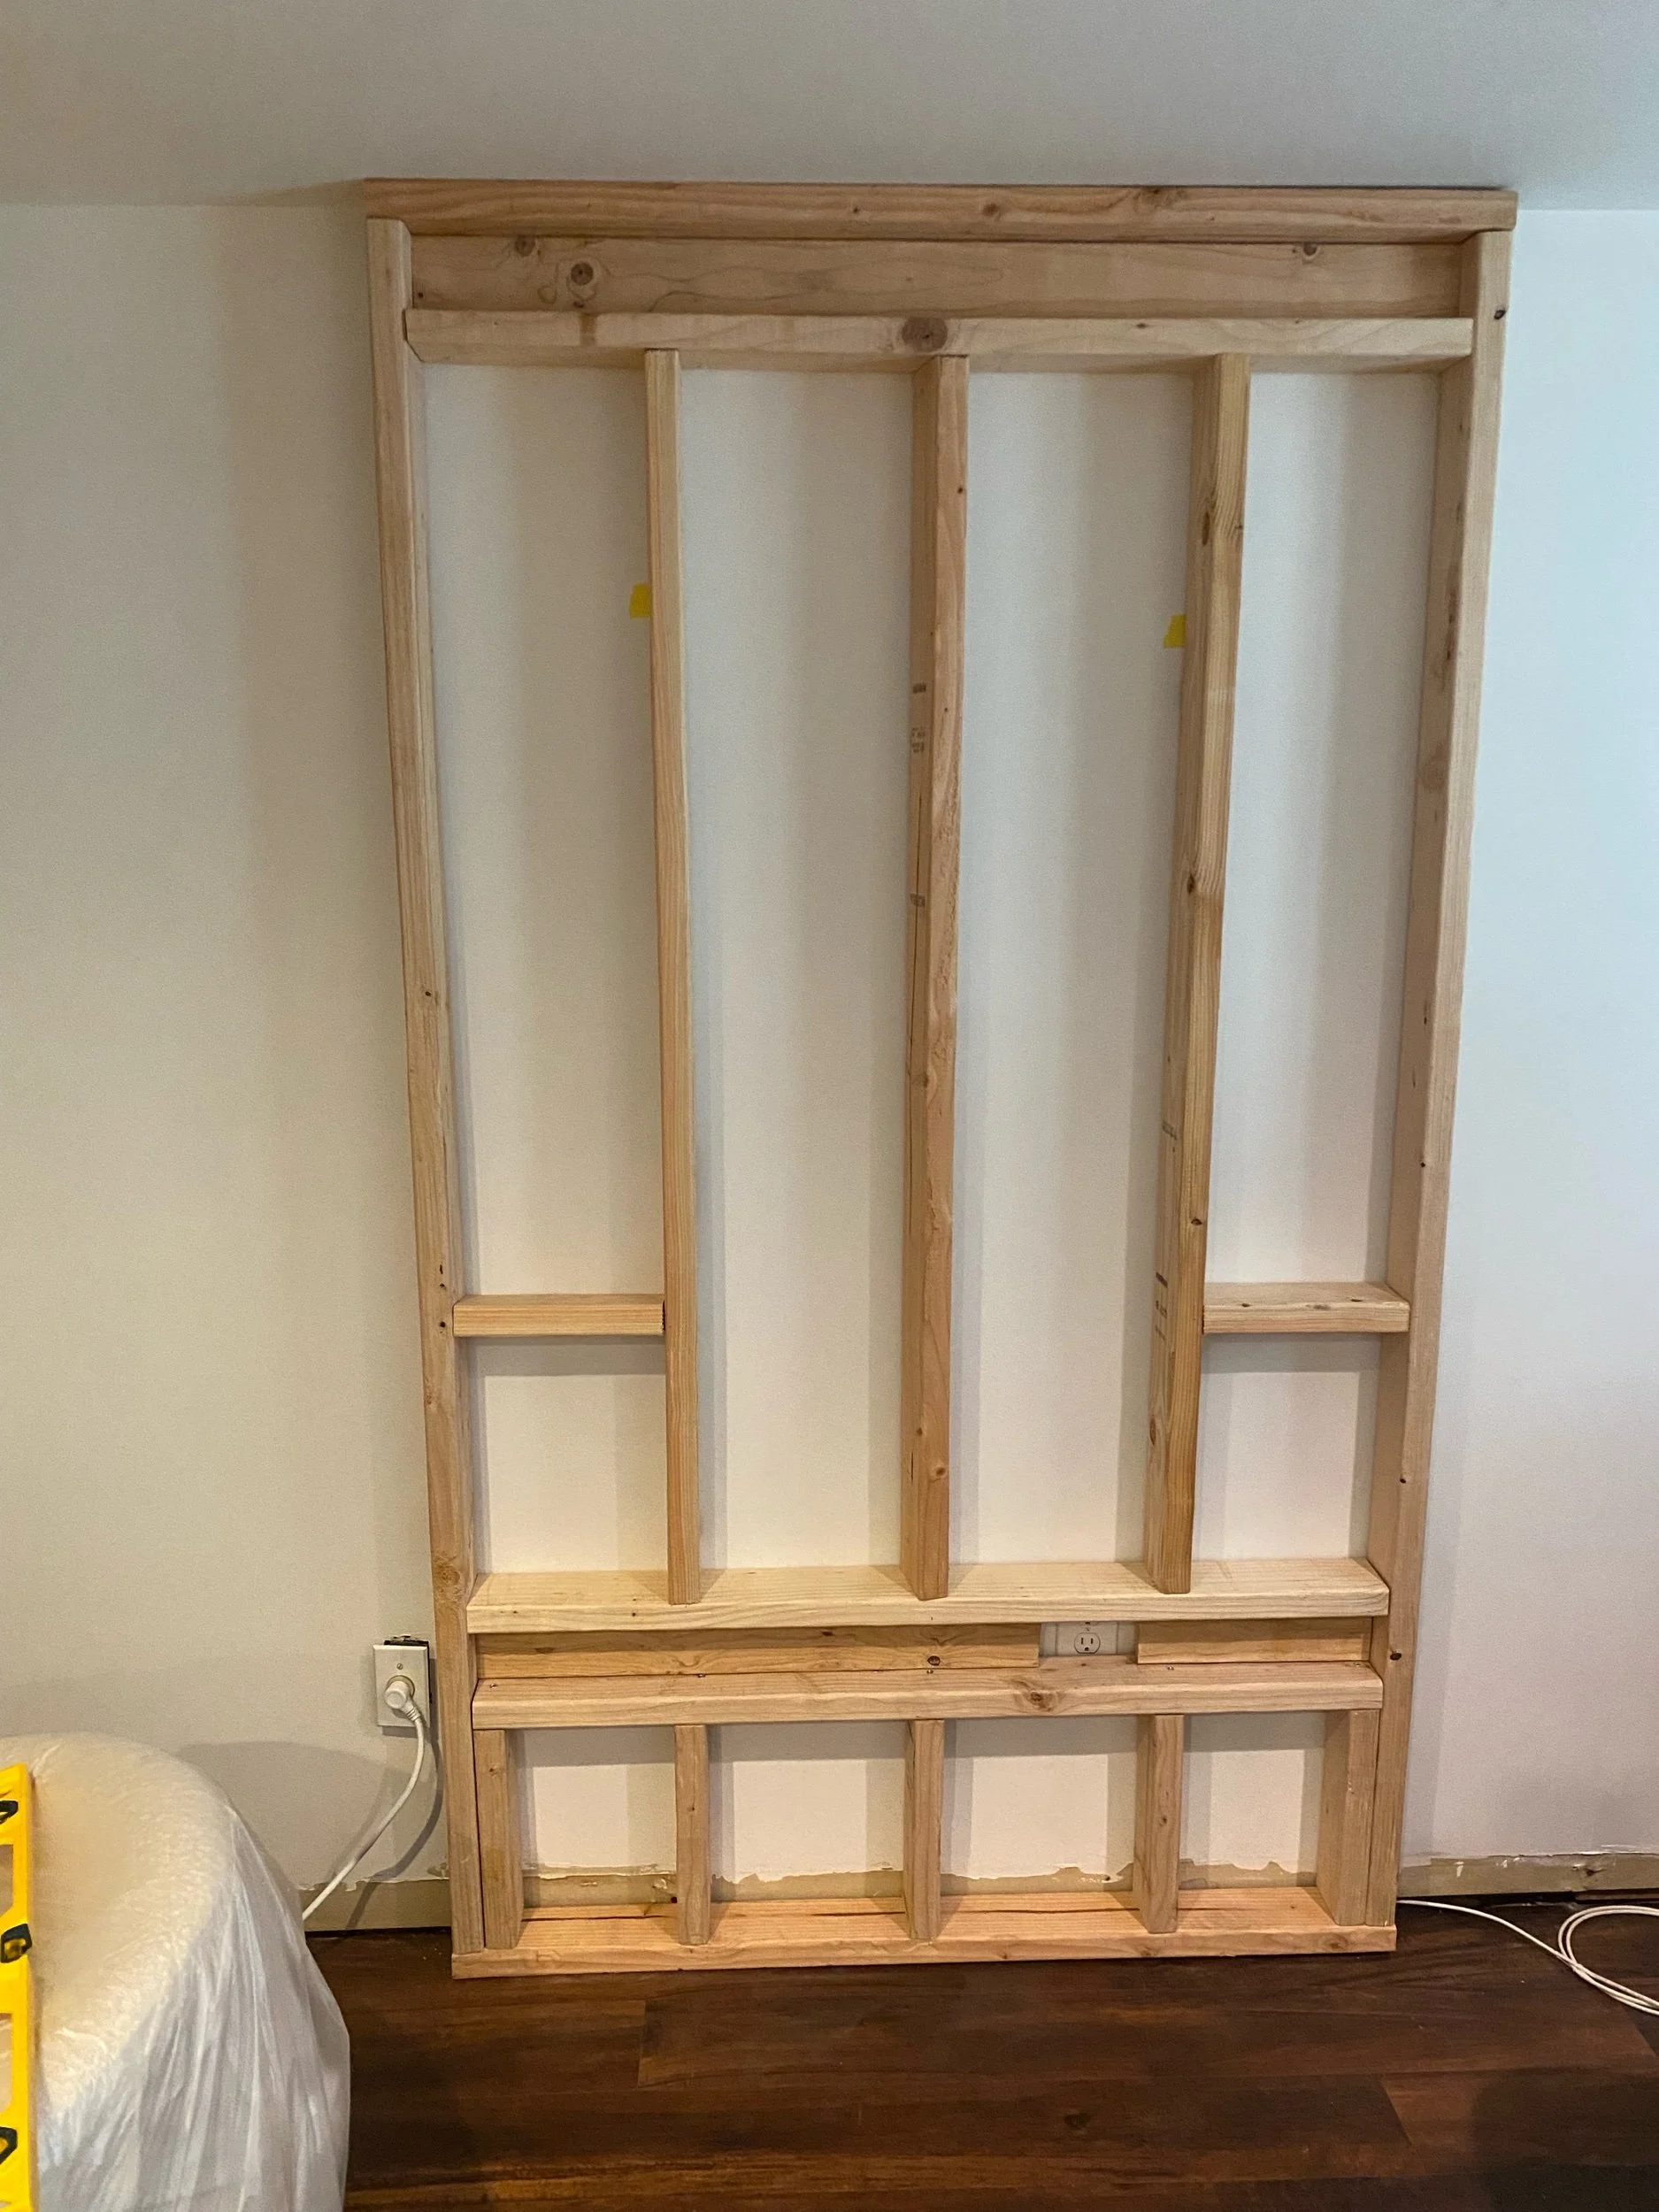
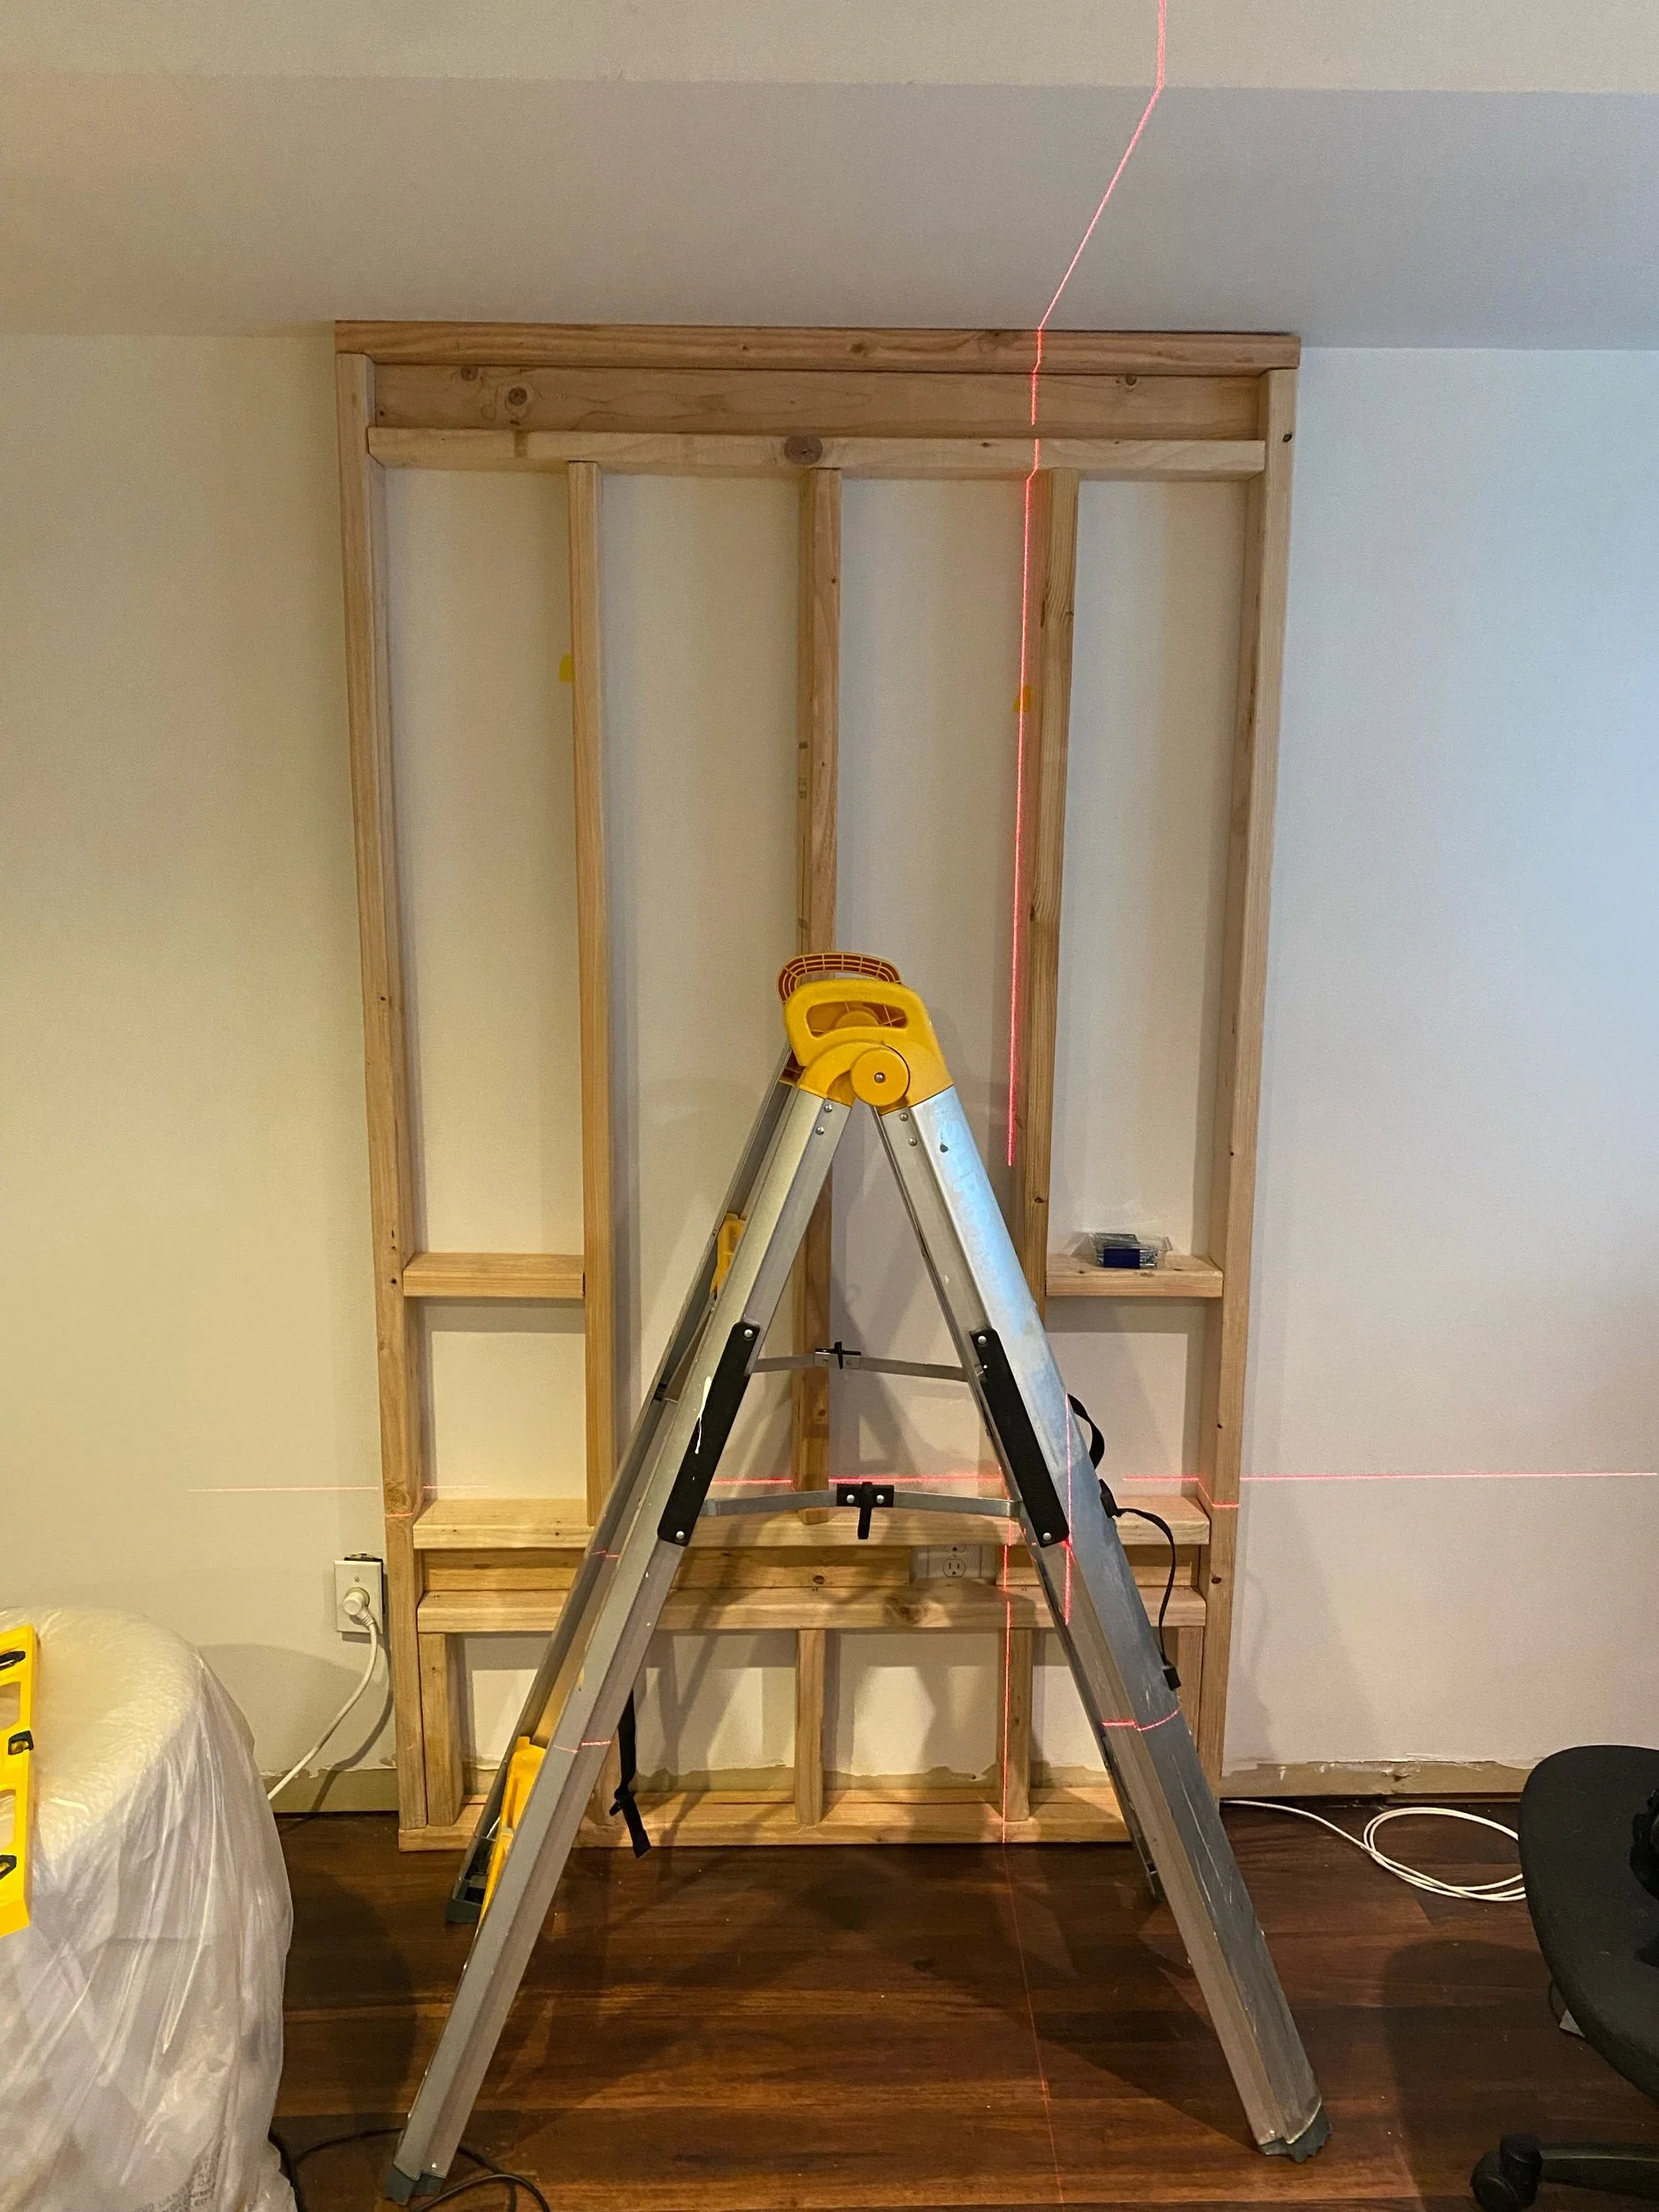
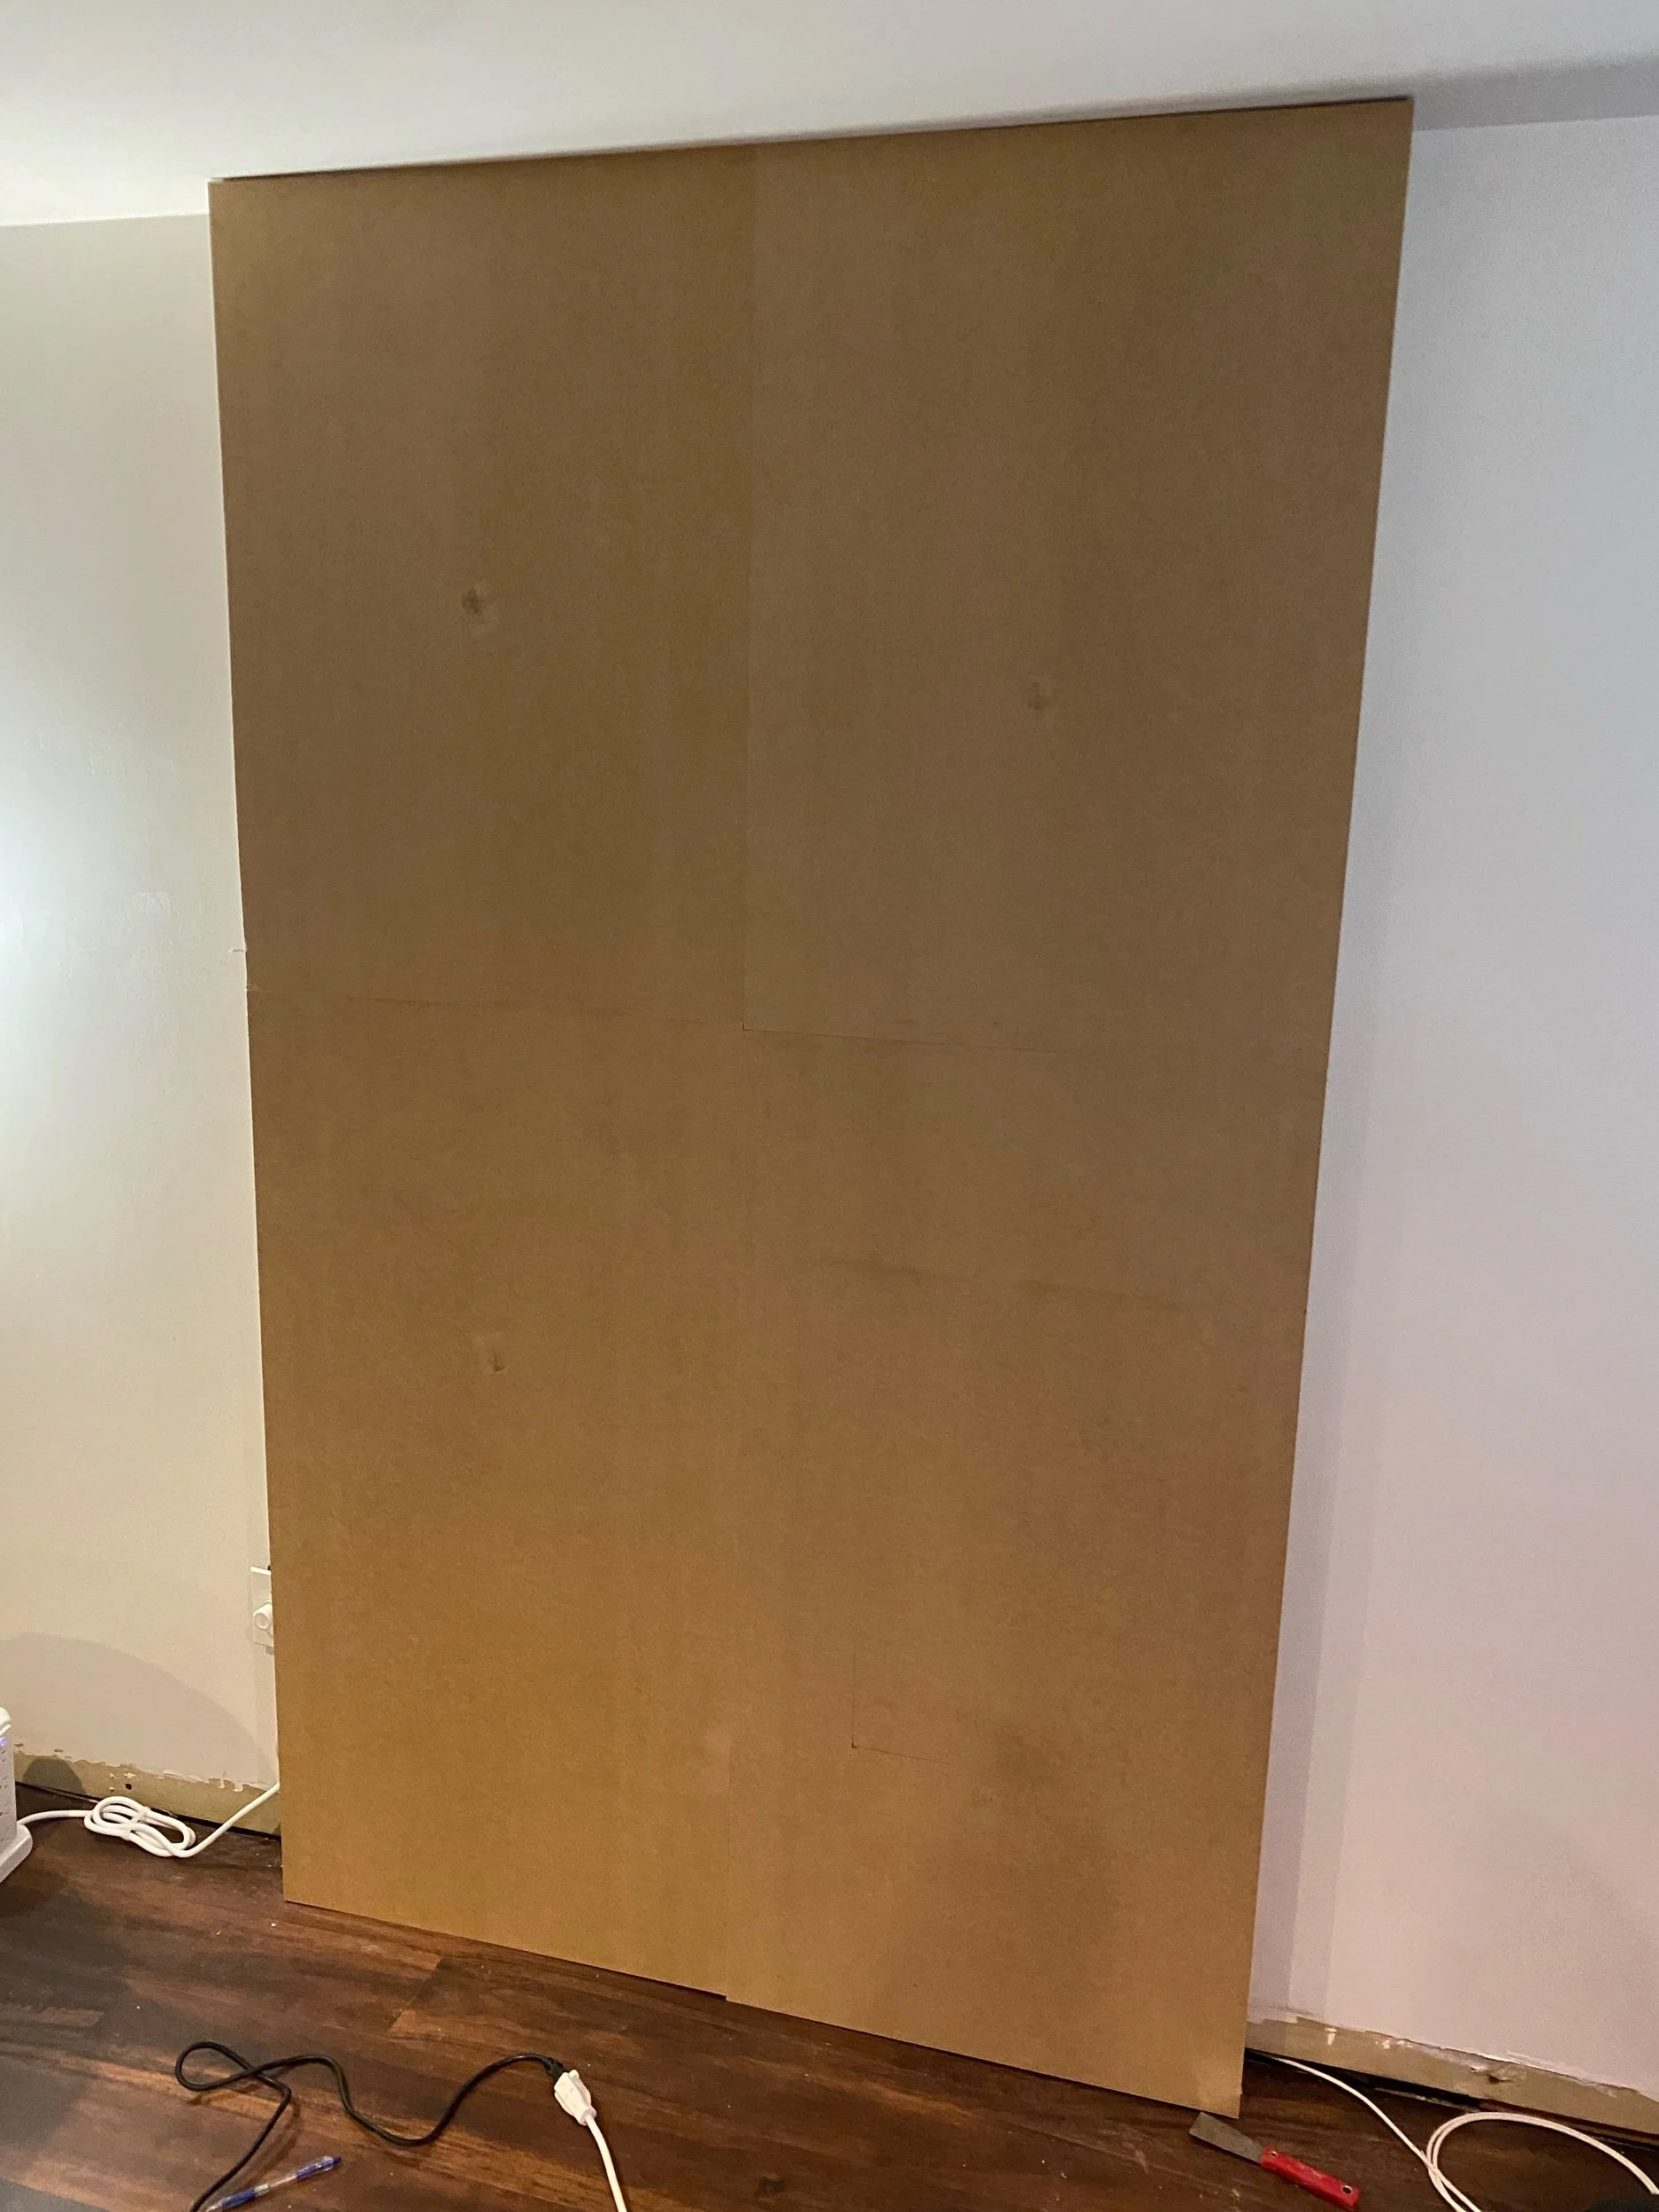
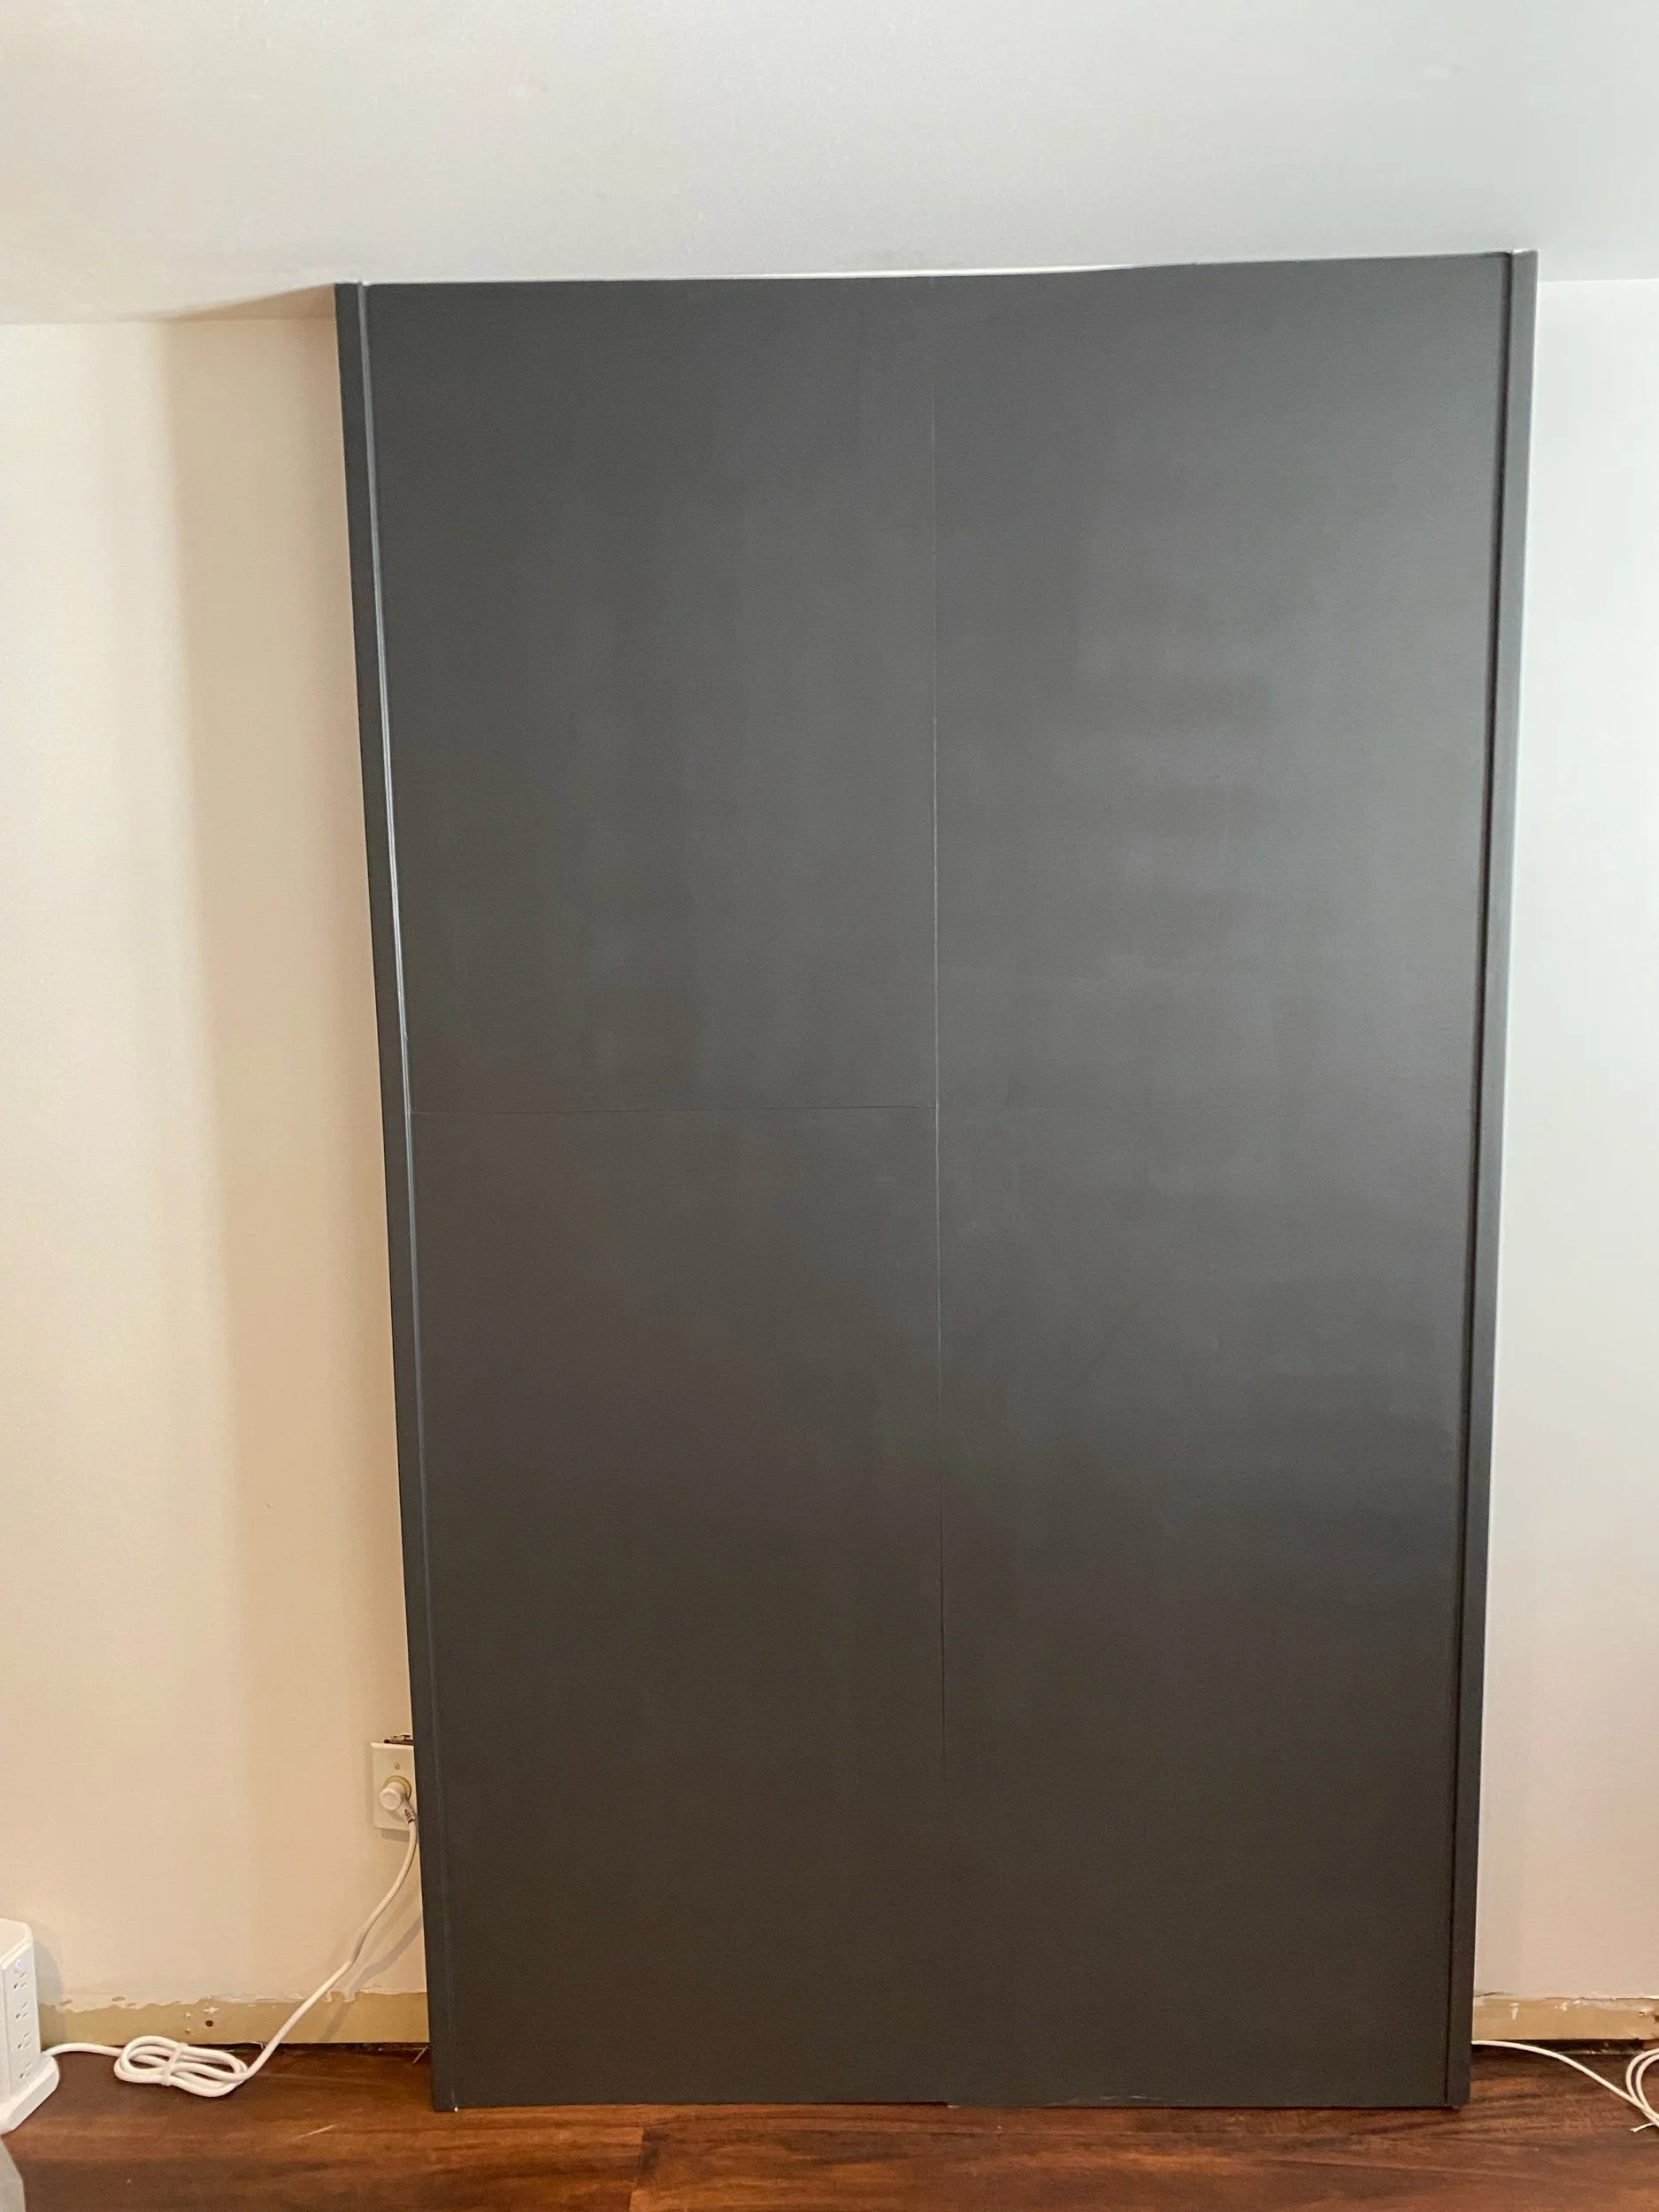
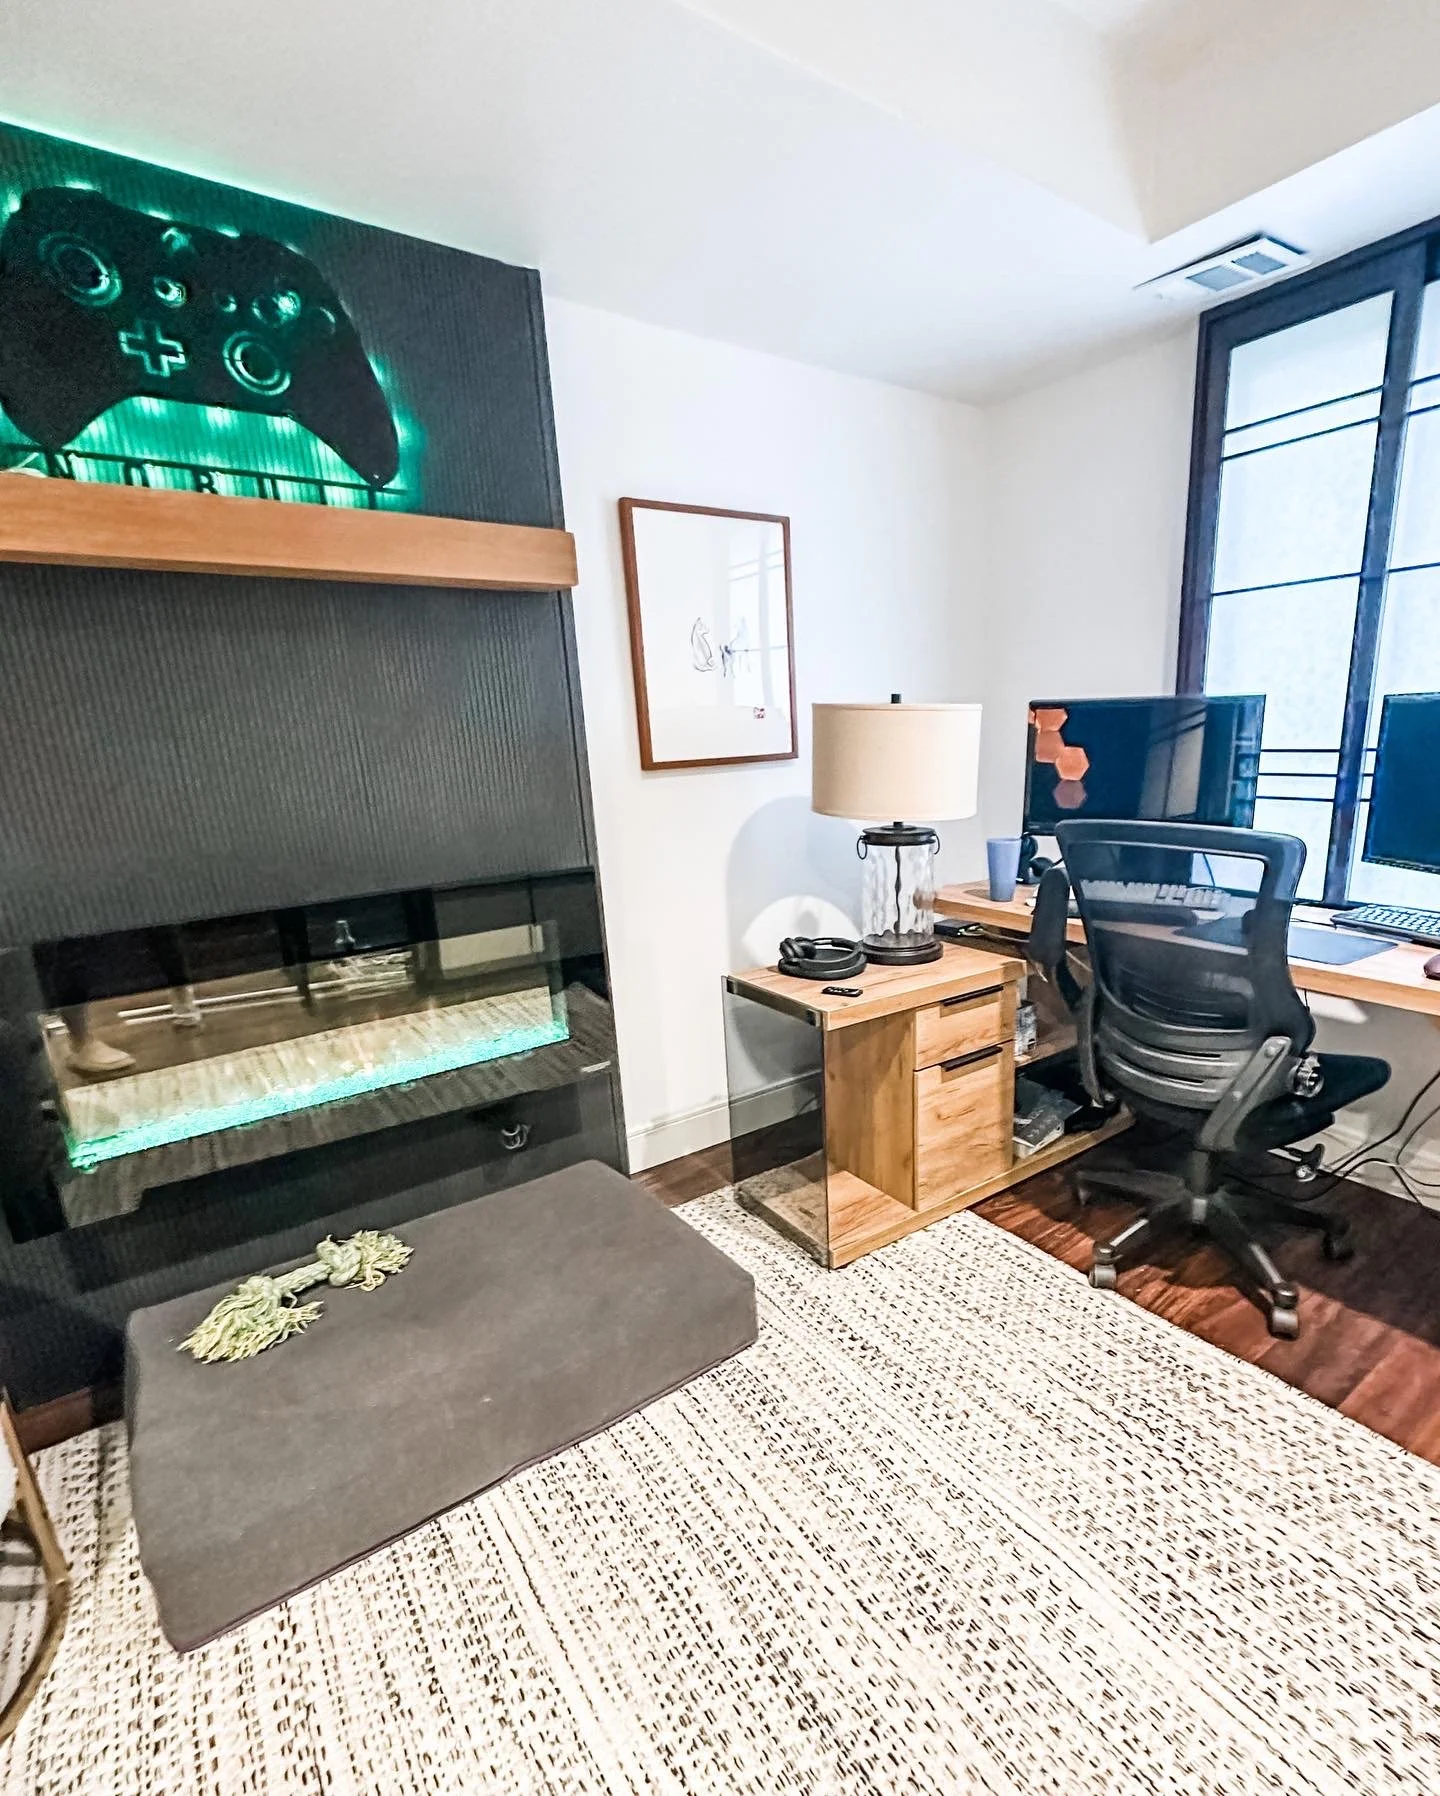
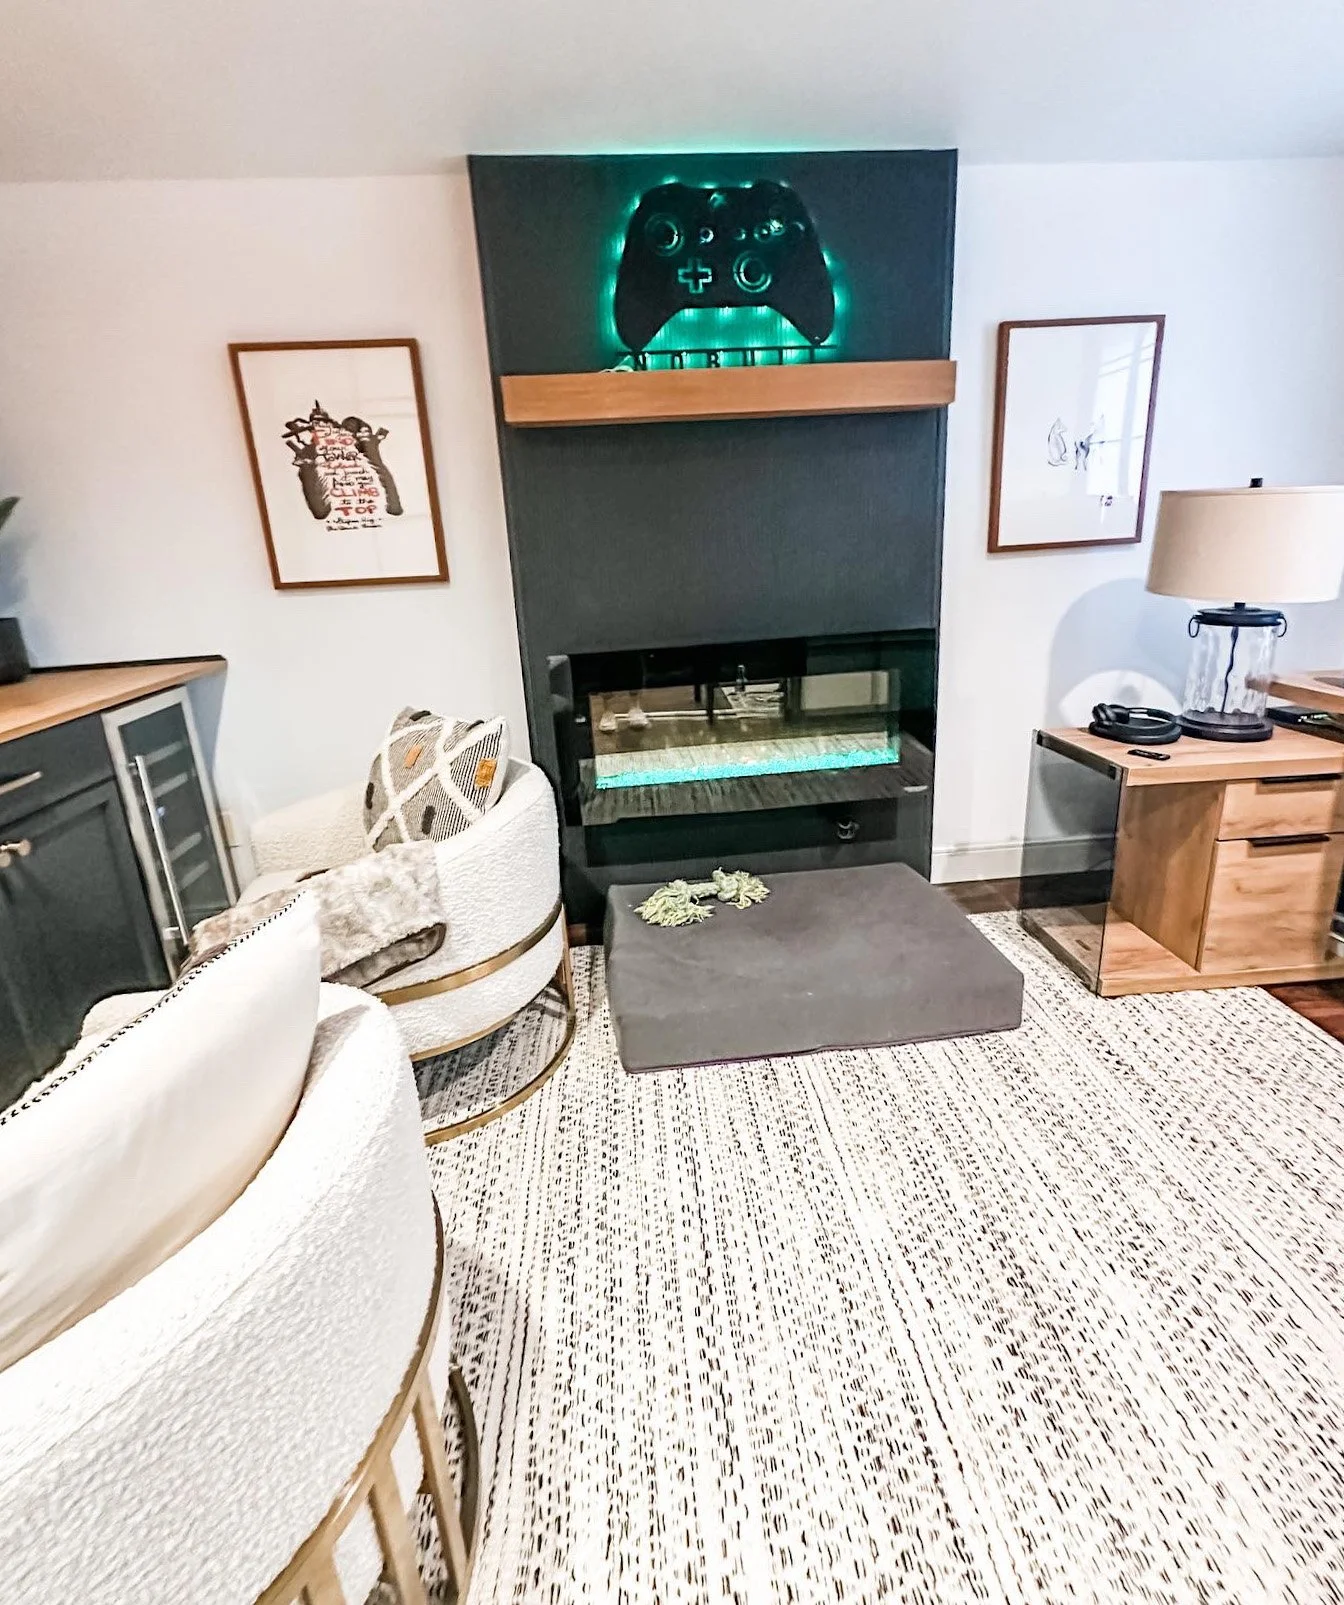
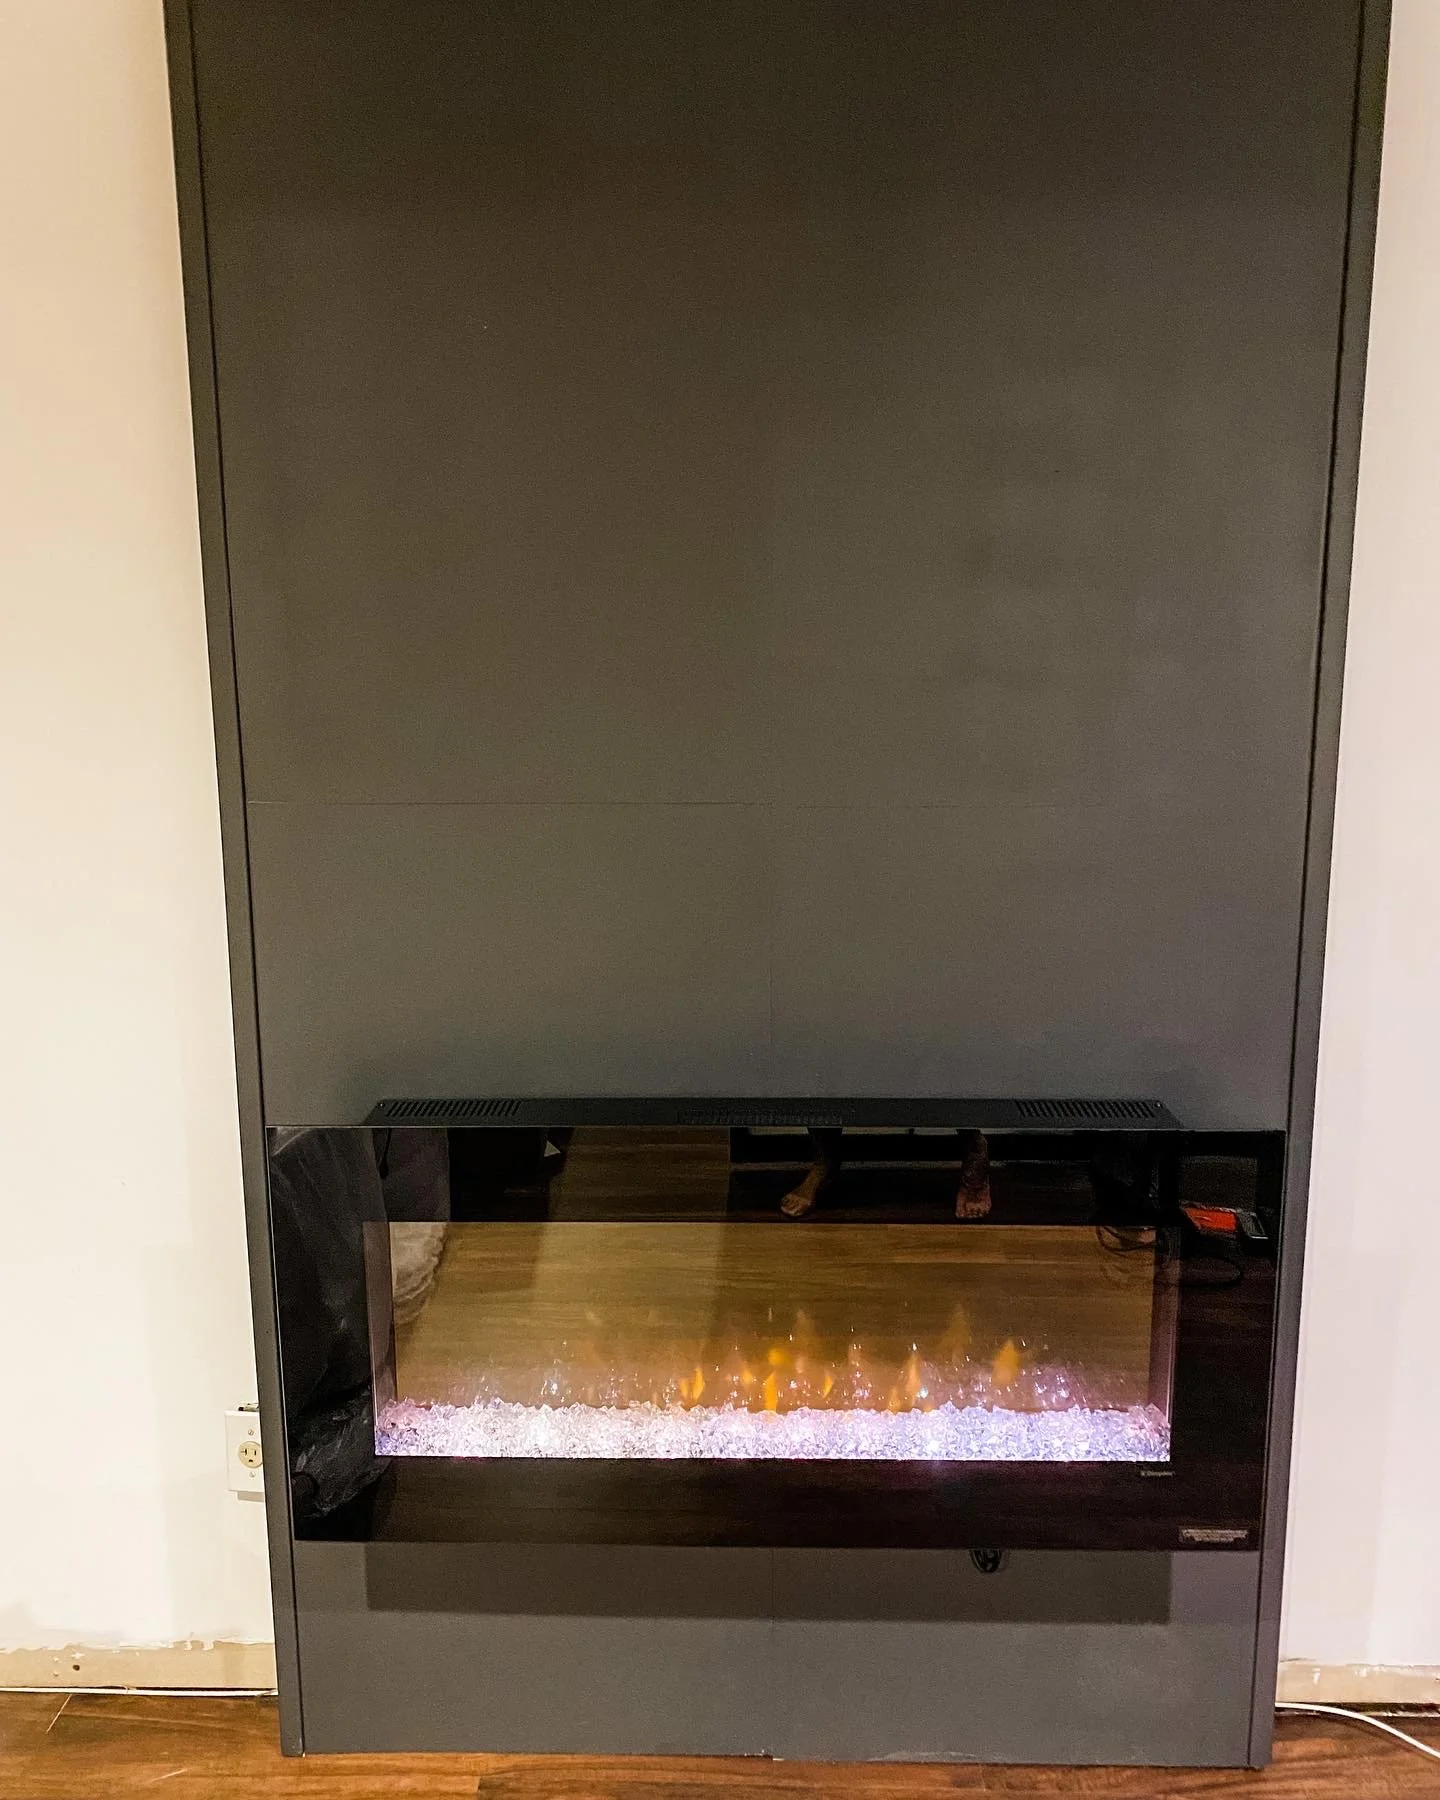
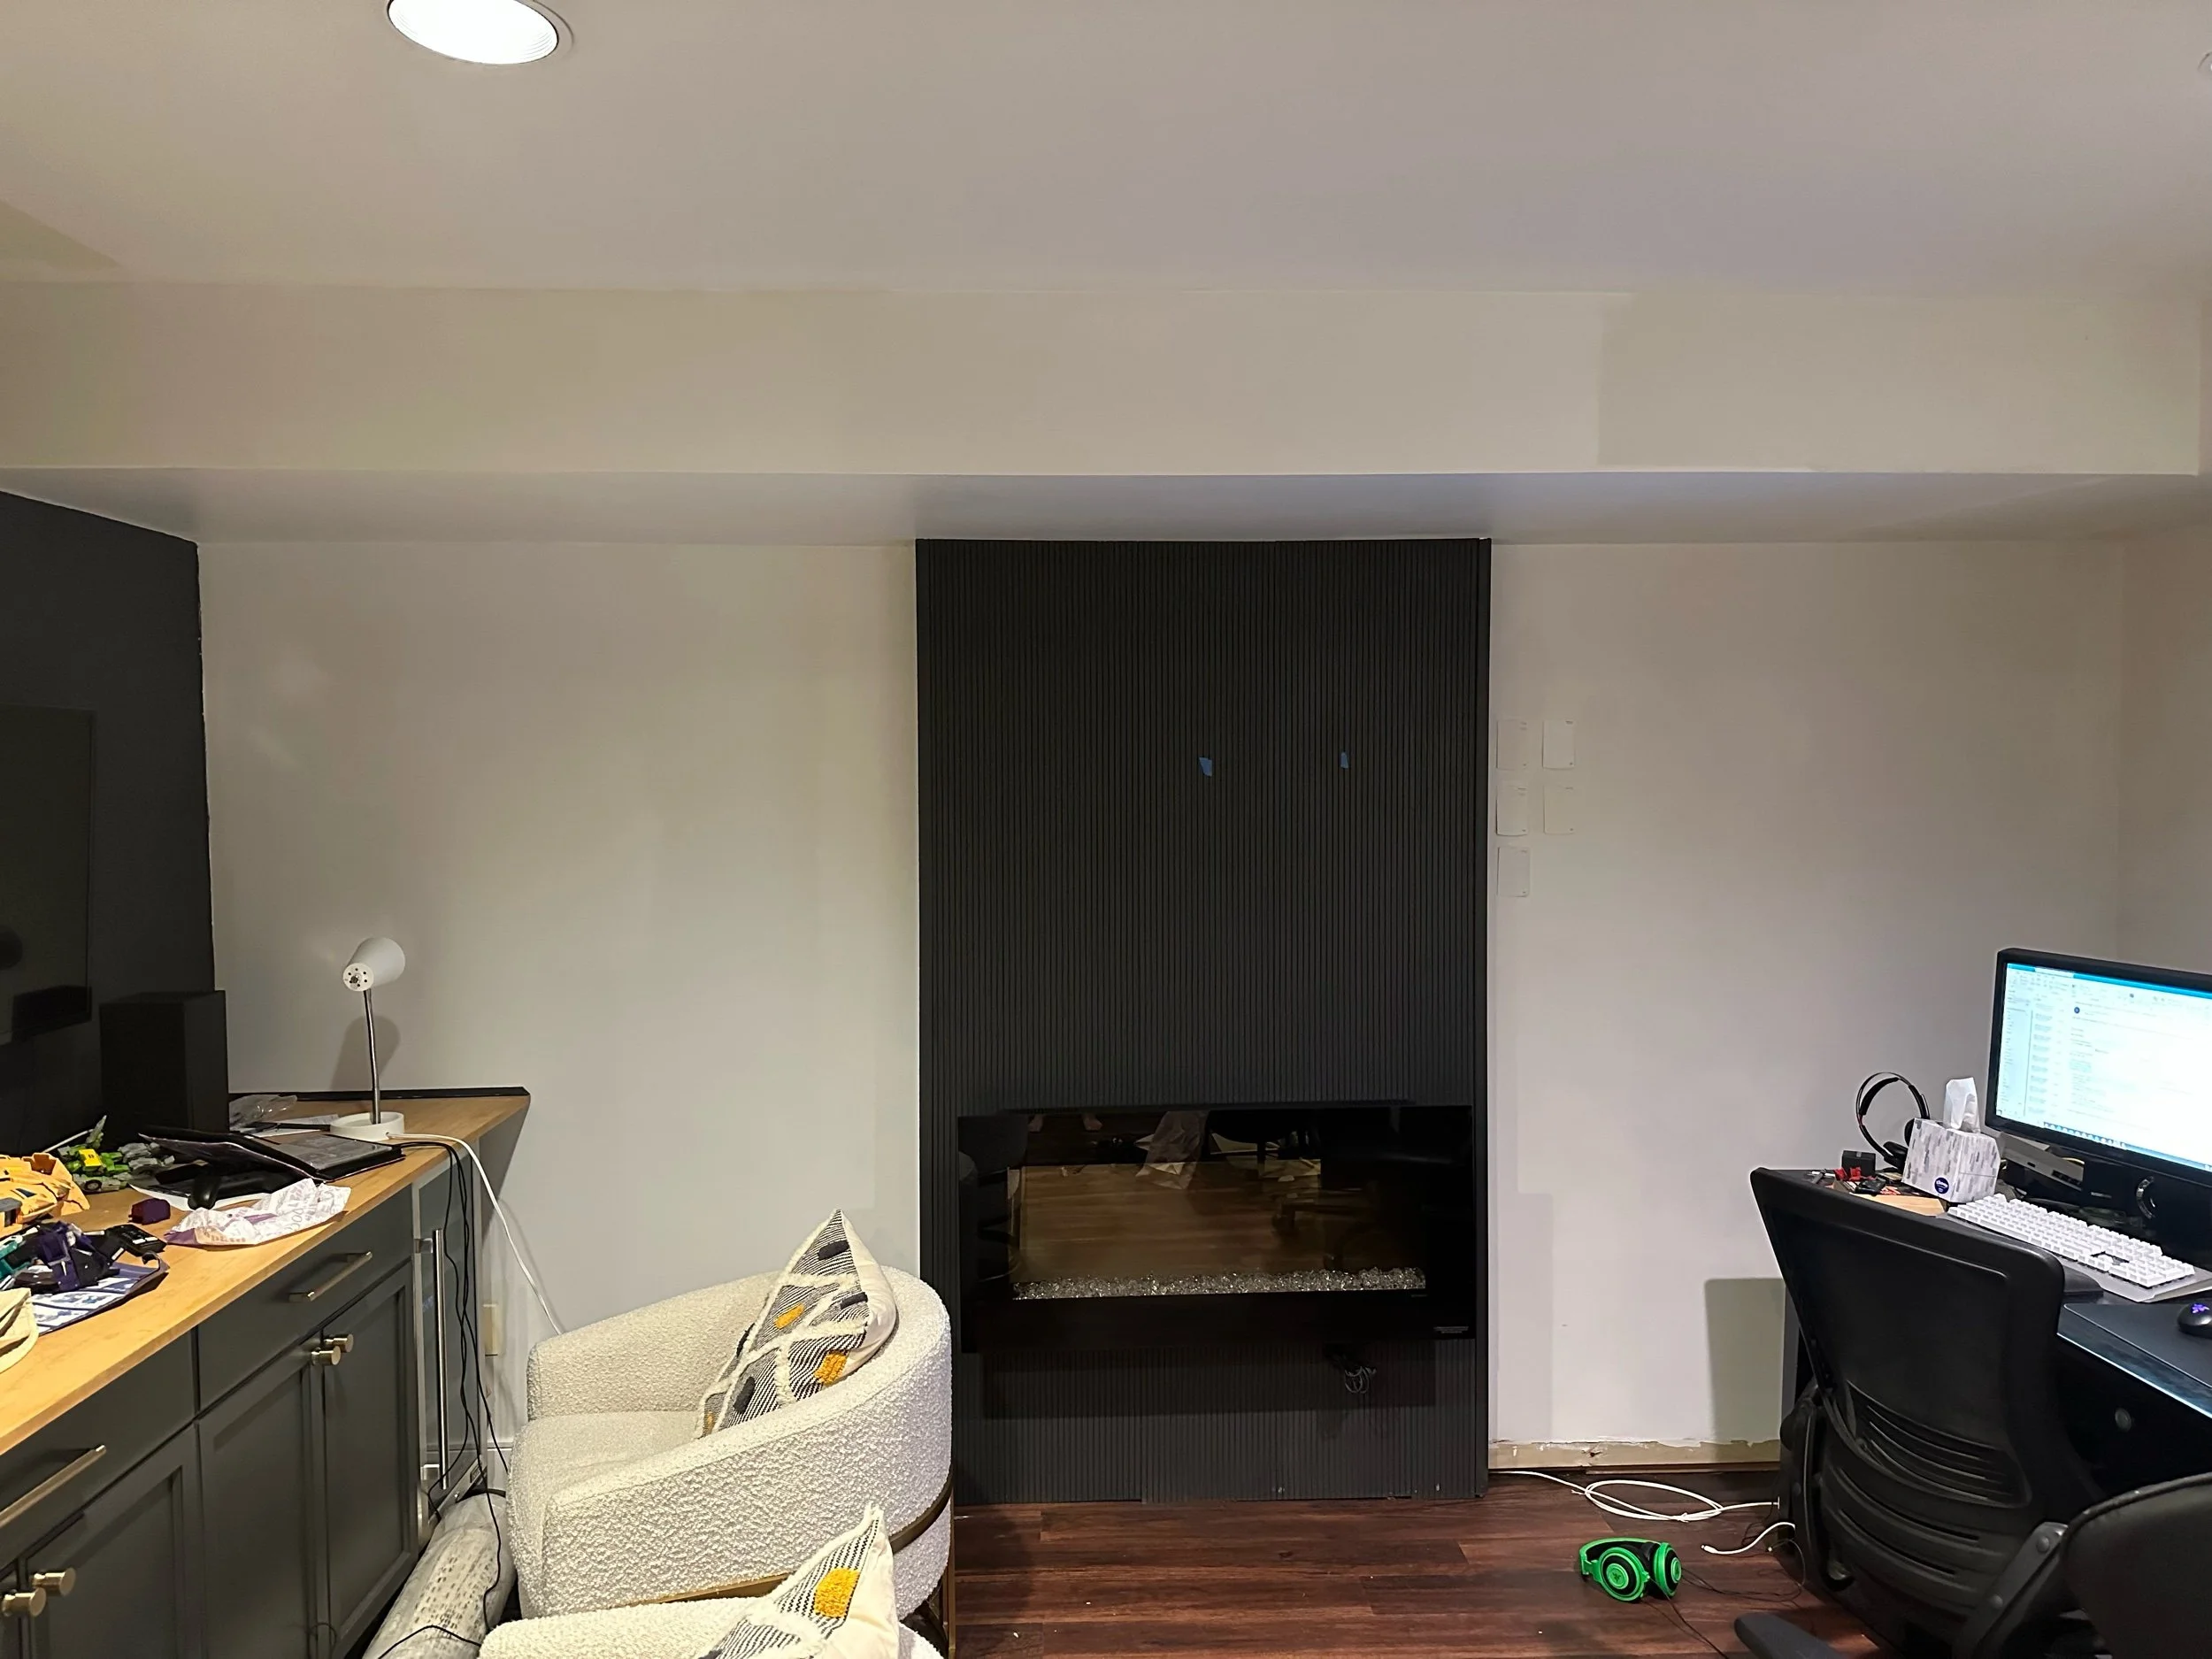
The instructions for the Dimplex fireplace gave specific dimensions for how high it should be off the ground. I ensured there were 2x4 framing studs for the bracket to be screwed into. The fireplace is another purchase that turned out differently than expected. In all the pictures, it looks like a built-in. It wasn’t until I unpacked the box and very carefully started reading the instructions that I realized it was supposed to be wall mounted. Unfortunately, by the time I noticed, I was about a month too late to return it. I contacted Home Depot and Dimplex, since I wanted to exchange for another Dimplex product, but no dice. Let this be a lesson in procrastination. Anyway, I made the best of it. I cut hardboard down to size with my circular saw and used a brad nailer to attach it to the studs. Since this guy lives in the basement, I used PVC outside corner moulding to cover the seams. Then the hardboard and moulding got a nice coat of Behr cracked pepper. The fireplace grew on me once it was up. The Dimplex Nicole 43” Electric Fireplace is a nice choice if youre in the market for a wall-mounted fireplace.
Now the story takes another long pause while I go to the beach with my family and then my in-laws, get COVID, recover from COVID, and travel to Africa for work. After staring at the seams of the hardboard, I decided the whole faux wall needed a little something and jumped into the pole-wrap-as-accent-material craze. Pole wrap is costly for what it is, but it’s so easy to work with and looks so beautiful!
I also wanted to add a floating mantle for decorative purposes. Unfortunately, I do not have space for a table saw. Instead, I contacted Caleb at NativeRiftFurniture on Etsy. Caleb makes beautiful floating mantels. I asked if it was possible to get a custom size. Did not think about mantle sizes when building faux wall. I could probably blame COVID brain fog, but in reality, I spread this project out too long, and I’d forget what I was doing in between bouts of motivation. Caleb also matched the stain of the mantel to the Golden Oak I’d used on the countertop to ensure everything looked cohesive.
I painted the rest of the walls with the white Behr bakery box we’d used in the stairwell. The white is so bright it immediately improves everything about the space. Last but not least, I put in the baseboards.
Now the best part - styling!
Chairs: Joybird Nola Accent Chair
Cushions: Kirkland’s Home Blue and Orange Tufted Accent Pillow
Rug: BoutiqueRugs Williford Area Rug
Desk: Reversible L-Shape Executive Desk by East Urban Home
Art: Both prints are from Society6 - Two Shiba Inu Couple by Rice and Ink & The Dark Tower by GeetsB
Custom Game Room Metal Wall Art: BeeMetalWallArt on Etsy
Plant: Faux Maranta from The Sill